A regular crawl space cleanout is one of the most cost‑effective ways to protect your home from mold, pests, and structural damage. Because crawl spaces are dark, damp, and often ignored, they become prime real estate for moisture problems, wood rot, rodents, and insects. With a bit of knowledge and a modest budget, you can dramatically improve the health of your crawl space—and your home.
Below you’ll find practical, affordable steps to clean, maintain, and protect your crawl space, plus warning signs to watch for and simple DIY strategies that don’t require specialized tools.
Why a Crawl Space Cleanout Matters
Crawl spaces play a bigger role than many homeowners realize. Up to 40–50% of the air you breathe on the first floor of your house can come from your crawl space through a process called the “stack effect” (source: EPA). If that air is musty, moldy, or contaminated with rodent droppings, those pollutants can make their way into your living areas.
A thorough crawl space cleanout helps:
- Reduce moisture that feeds mold and mildew
- Discourage pests like rodents, termites, and cockroaches
- Protect insulation and wooden framing from damage
- Improve indoor air quality and odors
- Preserve your home’s value and structural integrity
Addressing these problems early is far cheaper than paying for structural repairs, mold remediation, or pest infestations later.
Step 1: Inspect Before You Clean
Before you start any crawl space cleanout, take time to inspect and document what you see. This helps you prioritize tasks and avoid surprises.
Safety first:
- Wear a respirator or N95 mask
- Use gloves, eye protection, and long sleeves
- Bring a good flashlight or headlamp
- Watch for nails, sharp objects, and low-clearance beams
What to look for:
- Moisture signs: standing water, muddy or damp soil, condensation on ductwork or pipes
- Mold or mildew: black, green, or white spots on wood, insulation, or vapor barriers; musty odors
- Pest activity: droppings, chewed wires, gnawed wood, nests, or live insects
- Insulation damage: sagging, missing, or water-stained insulation
- Structural concerns: soft or rotted floor joists, support posts out of plumb, large cracks in foundation walls
If you notice extensive structural damage, widespread mold, or live termites, call a professional. Otherwise, many basic cleanout tasks are realistic DIY projects.
Step 2: Clear Out Debris and Junk
A key part of a crawl space cleanout is simply removing clutter and organic material that can hold moisture or attract pests.
Remove:
- Old construction scraps and wood
- Cardboard boxes or stored belongings
- Fallen insulation and broken vapor barrier pieces
- Trash, leaves, and other yard debris that have blown in
Bag smaller items and slide them out through the access door. Avoid dragging sharp objects across any intact vapor barrier. The cleaner and less cluttered your crawl space, the easier it is to control moisture and spot issues early.
Step 3: Control Moisture on a Budget
Excess moisture is the main driver of mold growth and pest problems. Even a basic moisture-control plan can dramatically improve conditions.
Improve Drainage Outside First
Start with simple, low-cost fixes around your home:
- Extend downspouts: Add 4–6 feet of extensions so roof runoff is directed away from the foundation.
- Adjust grading: Soil should slope away from the house at least 6 inches over the first 10 feet.
- Fix gutter issues: Clean gutters and repair leaks so water isn’t pooling near the crawl space walls.
These changes are inexpensive and help keep water from entering your crawl space in the first place.
Use a Ground Vapor Barrier
Covering the soil with a plastic vapor barrier is one of the most effective ways to reduce moisture vapor from the ground.
Affordable tips:
- Use 6‑mil polyethylene sheeting at minimum; thicker (10–12 mil) is more durable but still budget-friendly.
- Overlap seams by 12 inches and tape them with waterproof tape.
- Run the plastic a few inches up the foundation walls and tape it if possible.
- Weigh it down with bricks or pavers so it stays in place.
If your crawl space already has a vapor barrier, replace torn sections and re-tape loose seams during your crawl space cleanout.
Address Standing Water
If you see puddles or frequent water intrusion:
- Check for obvious plumbing leaks and fix them.
- Use a wet/dry shop vacuum to remove minor standing water.
- For recurrent water, consider installing a simple sump pit and pump. While not free, a basic pump system is far cheaper than ongoing mold remediation.
Step 4: Deal with Mold Safely
Mold thrives in damp crawl spaces and can damage wood and insulation, as well as affect indoor air quality.
When DIY Mold Cleaning Is Reasonable
For light, surface-level mold on small areas:
- Wear a proper respirator (N95 or better), gloves, and eye protection.
- Use a mold-cleaning product or a mixture labeled for mildew and wood surfaces.
- Scrub affected areas and allow them to dry completely.
- Improve ventilation and moisture control so it doesn’t return.
When to Call a Professional
If any of the following apply, professional remediation is safer and typically more effective:
- Mold covers large areas (e.g., many joists or a whole wall)
- Strong mold odors enter the home
- You or family members have allergies, asthma, or respiratory issues
- Wood appears soft or structurally compromised
Professional mold remediation can be more costly, but catching issues early—by doing a regular crawl space cleanout—often keeps costs manageable.
Step 5: Keep Pests Out Without Overspending
Pests are attracted to food, water, and shelter, all of which are abundant in a neglected crawl space. Fortunately, many pest-prevention steps are low-cost.
Seal Entry Points
During your cleanout, carefully examine:
- Foundation vents and gaps around them
- Openings where pipes or wires enter the home
- Cracks or gaps in the foundation or sill plate
Use:
- Steel wool or copper mesh to block small rodent entry points
- Exterior-grade caulk or low-expansion spray foam around penetrations
- Hardware cloth (¼‑inch) behind vent covers to keep rodents and larger pests out
Eliminate Food and Nesting Materials
- Remove all cardboard, paper, and fabric from the crawl space.
- Bag and dispose of insulation that’s heavily soiled with droppings or shredded for nests.
- Ensure pet food is never stored in or near the crawl space.
Consider Targeted Traps
To keep costs low:
- Place snap traps or multi-catch traps along common rodent pathways (near walls or sill plates).
- Avoid relying solely on poison baits, which can lead to dead animals in inaccessible areas and secondary poisoning of pets or wildlife.
For severe infestations, pair your crawl space cleanout with a professional pest-control plan, then maintain cleanliness to prevent re-infestation.
Step 6: Evaluate and Repair Insulation
Damp, sagging, or missing insulation reduces energy efficiency and can harbor mold or pests.
Affordable strategies:
- Spot remove only damaged sections rather than replacing everything.
- Re-secure hanging fiberglass batts with insulation supports or twine.
- Consider foam board insulation on foundation walls if you’re planning a more extensive upgrade later; even partial coverage can help.
When you do a crawl space cleanout annually, you can catch insulation problems early, before they spread and become more expensive to fix.
Step 7: Ventilation and Encapsulation Decisions
A common question during crawl space cleanout is whether to keep vents open or move toward encapsulation. The best approach depends on your climate and budget.
Traditional Vented Crawl Spaces
In some climates, especially milder and drier ones:
- Ensure vents are not blocked by plants, debris, or stored items.
- Use vent covers that keep out pests but allow air flow.
- Consider closing vents only in extremely cold weather to protect plumbing.
Basic Encapsulation on a Budget
Full professional encapsulation can be expensive, but you can take steps in that direction gradually:
- Install a high-quality vapor barrier over the entire floor and partially up walls.
- Seal obvious air leaks to the outside.
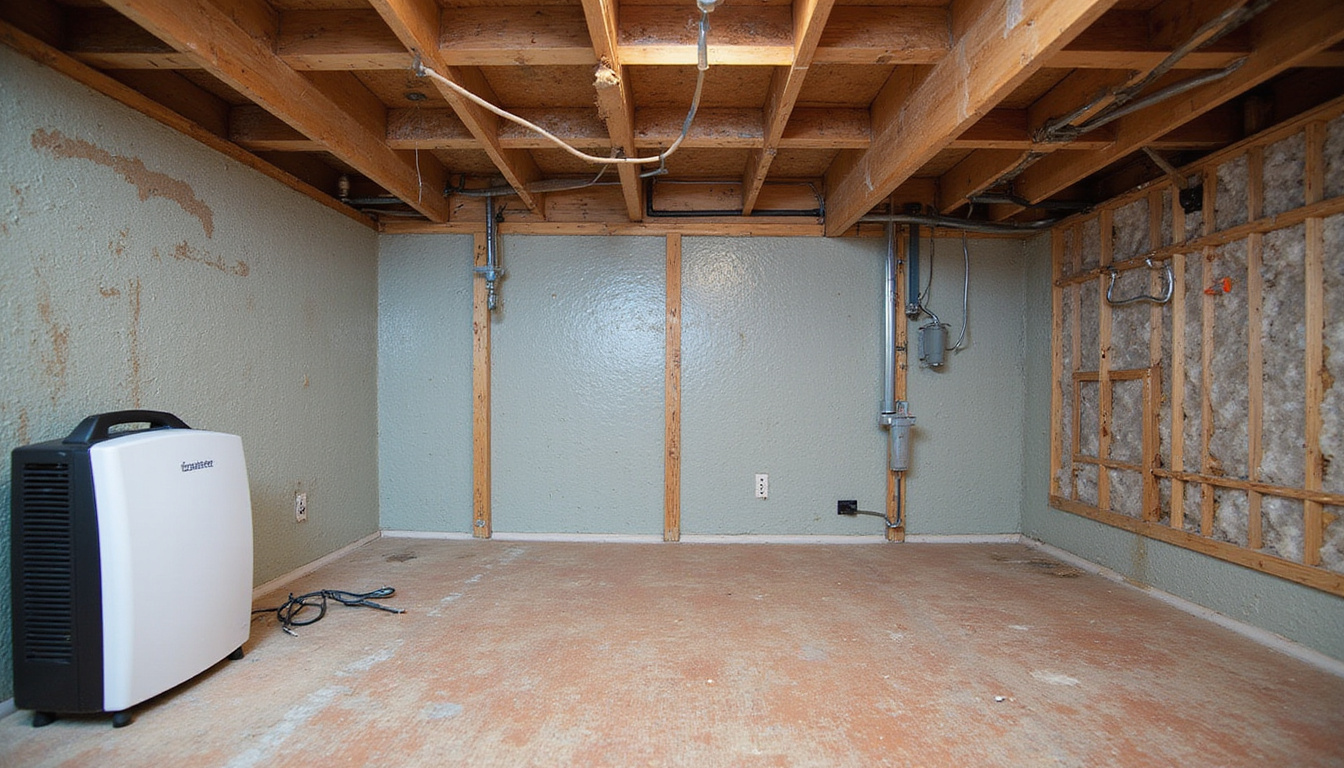
- Use a small, energy-efficient dehumidifier sized for your crawl space if humidity remains high.
Even partial encapsulation combined with regular crawl space cleanout can dramatically reduce moisture, mold, and pests.
How Often Should You Do a Crawl Space Cleanout?
For most homes, a light crawl space cleanout and inspection once a year is ideal. Consider more frequent checks if:
- Your area has heavy seasonal rains or flooding
- You’ve had previous pest or mold problems
- You notice musty odors or uneven floors inside your home
An annual schedule allows you to catch small issues—like a new leak, a minor pest entry, or a torn vapor barrier—before they grow into expensive repairs.
Simple Crawl Space Cleanout Checklist
Use this quick list as a guide the next time you go under the house:
- Put on protective gear (mask, gloves, eye protection, long sleeves).
- Bring a flashlight, camera/phone, contractor bags, and a small trash shovel.
- Inspect for water, mold, droppings, damaged insulation, and structural issues.
- Remove debris, trash, and fallen insulation.
- Repair or replace damaged sections of vapor barrier.
- Look for and seal gaps where pests can enter.
- Check for signs of plumbing leaks and condensation.
- Note any major issues that need a professional’s help.
Keeping this list handy makes your yearly crawl space cleanout faster and more focused.
FAQs About Crawl Space Cleanouts, Mold, and Pests
Q1: How much does a professional crawl space cleanout and mold treatment cost?
Costs vary widely based on the size of your crawl space and the severity of problems. A basic crawl space mold cleanout or debris removal might range from a few hundred to over a thousand dollars, while full encapsulation and dehumidification can reach several thousand. Doing routine DIY inspections and small repairs often reduces the need for expensive professional work.
Q2: Is crawl space pest control effective without a full cleanout?
Pest treatments are far more effective when paired with a thorough crawl space pest cleanout. Removing nests, food sources, and clutter, plus sealing entry points, supports any trapping or professional treatments. Without cleanout and exclusion, pests typically return once baits or sprays wear off.
Q3: How can I tell if my crawl space needs mold remediation, not just cleaning?
If you see widespread discoloration on wood, smell strong musty odors in your living area, or notice humidity and condensation even after basic moisture control, your crawl space likely needs mold remediation rather than a simple cleanout. Structural wood damage, persistent allergies, or visible mold on insulation are also strong indicators that professional assessment is necessary.
A healthier home often starts in a hidden place: your crawl space. With a thoughtful crawl space cleanout, simple moisture-control upgrades, and basic pest exclusion, you can protect your property, improve air quality, and avoid expensive surprises. If you’re unsure where to start—or if your inspection reveals larger issues like significant mold or structural damage—schedule a professional crawl space evaluation and get a clear action plan. Take the first step today, and turn your crawl space from a problem area into a solid, protected foundation for your home.
Junk Guys Inland Empire
Phone: 909-253-0968
Website: www.junkguysie.com
Email: junkguysie@gmail.com