Brush Removal Tips Every Homeowner Needs for Safe, Efficient Land Clearing
If you own property with trees, overgrown shrubs, or a wild back corner, you’ll likely deal with brush removal at some point. Done right, it can improve safety, reduce fire risk, boost curb appeal, and create usable outdoor space. Done wrong, it can be dangerous, ineffective, and more expensive than it needs to be.
This guide walks you through safe, efficient strategies for clearing brush on residential property, from basic yard cleanups to tackling dense, overgrown areas.
Why Brush Removal Matters for Homeowners
Before you start cutting, it helps to understand why brush removal is more than just a cosmetic chore:
- Fire prevention: Dry brush, dead branches, and leaf piles are prime fuel for wildfires and accidental yard fires. Many regions now encourage or require vegetation management around homes (source: U.S. Fire Administration).
- Pest control: Dense, unmanaged brush can harbor rodents, snakes, ticks, and mosquitoes.
- Property access and usability: Clearing brush opens up space for gardens, trails, play areas, or future projects.
- Home value and curb appeal: A well-maintained lot looks larger, safer, and more welcoming to guests and potential buyers.
- Tree and plant health: Removing competing undergrowth can improve air flow, light, and nutrients for desirable trees and plants.
A thoughtful, step-by-step approach to brush removal will help you get these benefits without risking injuries or damaging your land.
Step 1: Assess Your Property Before Clearing
Walk your property methodically and make notes. A few key things to look for:
Identify What You Want to Keep vs. Remove
- Keep: Healthy trees, ornamental shrubs, native plants, erosion-controlling groundcover.
- Remove or reduce: Invasive species, dead or diseased plants, dense thickets of saplings, thorny brambles, and anything blocking access or views.
Mark “keepers” with ribbon or tape so you don’t accidentally cut them down in the process.
Check for Hazardous Conditions
Before any brush removal work:
- Look overhead for dead limbs or leaning trees that could fall.
- Note any steep slopes, loose rocks, or unstable ground.
- Identify utility lines (overhead and underground). Call 811 in the U.S. before digging or pulling stumps.
- Watch for poison ivy/oak/sumac, hornet or wasp nests, and signs of wildlife.
If you see large dead trees, unstable slopes, or significant hazards, plan to call in a professional for those specific tasks.
Step 2: Choose the Right Brush Removal Tools
Using the right tools makes land clearing safer, faster, and less exhausting.
Essential Hand Tools
For small-scale brush removal:
- Loppers: For branches up to ~2 inches thick.
- Pruning saw or bow saw: For larger branches and small trunks.
- Hand pruners: For small stems and detailed shaping.
- Machete or brush axe: For cutting through vines and light brush.
- Rake (steel tines): For gathering sticks, leaves, and debris.
Power Tools for Efficiency
For moderate to heavy brush:
- String trimmer with brush blade: Cuts tall grass, weeds, and thin saplings.
- Hedge trimmer: Useful on dense hedges and woody shrubs.
- Chainsaw: For trees, thick limbs, and major brush piles. Requires training and careful safety practices.
- Walk-behind brush mower: Ideal for large, overgrown areas with tall weeds and small saplings.
Safety Gear You Should Never Skip
Any serious brush removal project should start by suiting up:
- Sturdy work gloves
- Eye protection
- Hearing protection (for power tools)
- Long pants and long sleeves
- Closed-toe boots with good traction
- Dust mask or respirator if you’ll create lots of dust or handle moldy material
Step 3: Plan a Safe, Logical Workflow
Instead of randomly hacking at overgrowth, create a simple plan:
- Start at the edges: Begin near paths, structures, or property lines so you quickly see progress and maintain access.
- Work from top to bottom: Trim upper branches first, then cut lower growth. This reduces the chance of falling limbs hitting you.
- Clear in sections: Divide the area into manageable zones and complete one before moving on.
- Stage debris piles: Designate areas for brush, logs, and leaves. This keeps pathways open and prevents re-clearing the same area.
Planning reduces fatigue and accidents and makes your brush removal project more efficient.
Step 4: Techniques for Different Types of Brush
Not all brush is the same. Tailor your approach to what you’re dealing with.
Tall Grass and Weeds
- Use a string trimmer or brush mower for large patches.
- Cut to a manageable height, then rake and remove debris.
- Consider overseeding with grass or planting groundcover afterward to prevent regrowth of unwanted weeds.
Shrubs and Small Trees
- First, prune outer branches so you can see the structure.
- Cut shrubs close to the ground if you’re removing them entirely.
- For saplings, cut just above ground level at a slight angle to shed water.
- For problem species (invasive or fast suckering), you may need to grub out the roots or treat fresh cuts with an appropriate herbicide (follow local regulations).
Vines and Brambles
- Wear thick gloves and long sleeves—thorns and irritant plants are common.
- Cut vines at the base and again at reachable height; let the upper parts die and fall over time.
- For brambles (like wild blackberries), cut canes to the ground, then dig out crowns where feasible.
Step 5: Dealing with Stumps and Roots
Stumps can be tripping hazards, obstacles for mowing, and sources of regrowth.
Options for stump and root management:
- Cut low and leave: For non-invasive species in low-traffic areas, cutting stumps flush with the ground might be enough.
- Manual removal: Dig around smaller stumps, cut major roots, and lever them out with a pry bar.
- Mechanical removal: For larger stumps, renting a stump grinder or hiring a pro is usually safer and more efficient.
- Non-chemical control of regrowth: Repeatedly cutting off new shoots and shading the area can eventually exhaust the root system.
Avoid randomly yanking on large roots with vehicles or tractors; this can cause property damage or injuries.
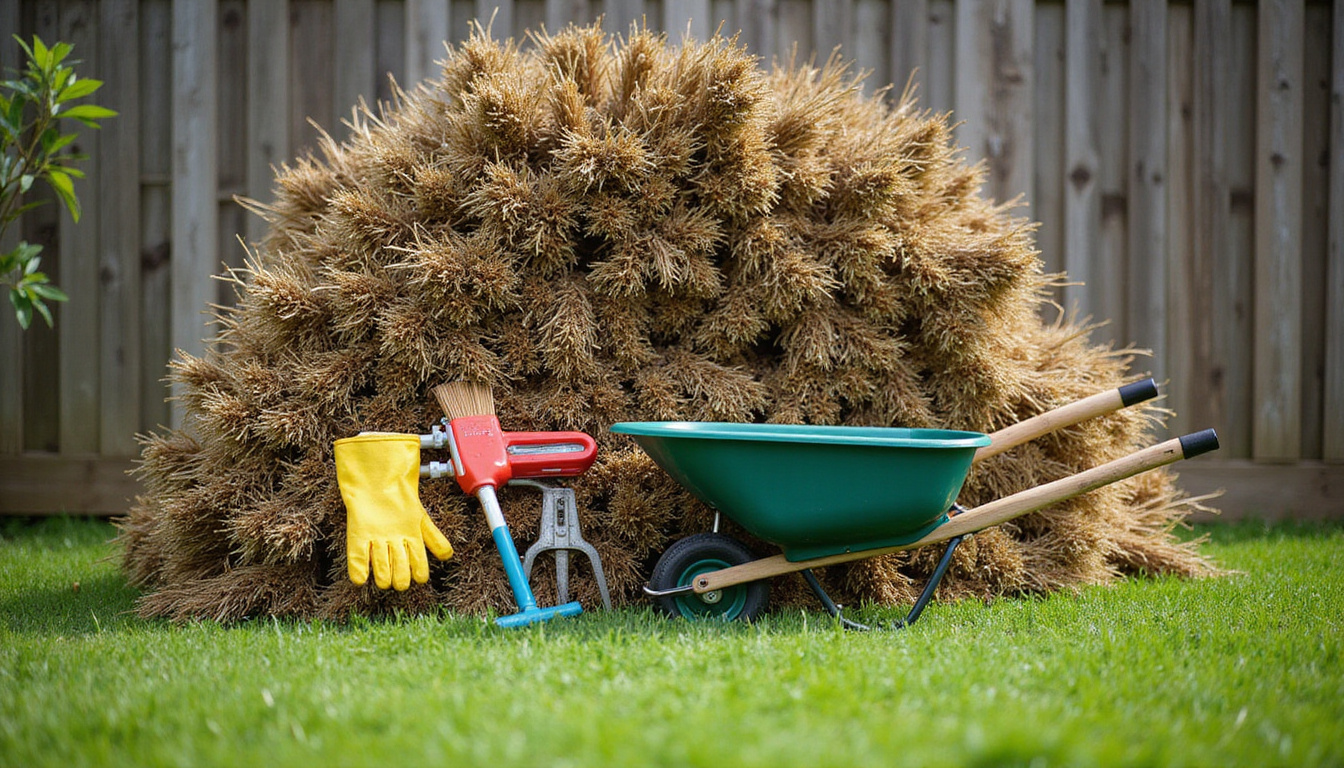
Step 6: Smart Brush Disposal Options
Once brush removal is complete, you’ll likely face a large pile of branches, logs, and leaves. Common options include:
- Curbside yard waste pickup: Many municipalities collect bagged or bundled yard debris.
- On-site chipping: Rent a chipper or hire a service; wood chips can be reused as mulch on trails or around trees (but not piled against trunks).
- Composting: Leaves and small twigs can be composted. Avoid diseased plants or those with mature seeds.
- Burning: Only where legal and safe, and never during dry or windy conditions. Obtain any required permits and follow local burn regulations.
- Hauling to a green waste facility: Some centers turn yard waste into mulch or compost for reuse.
Whatever you choose, ensure debris doesn’t block drainage, driveways, or access routes.
Step 7: Fire-Safe Brush Removal Practices
In fire-prone areas, brush removal is a key part of creating a defensible space around your home.
Basic fire-safe guidelines:
- Maintain a lean, clean, and green zone 30 feet around structures:
- Remove dead plants, dry leaves, and pine needles.
- Keep grass mowed low.
- Space bushes and trees to prevent continuous fuel.
- Trim tree branches at least 6–10 feet up from the ground, or one-third of the tree height, whichever is less.
- Store firewood and lumber away from structures.
- Regularly remove brush from under decks, porches, and stairways.
Integrating fire safety into your ongoing brush removal routine protects both your home and neighbors.
Step 8: Preventing Brush from Growing Back
Long-term success isn’t just about clearing once—it’s about maintaining your land.
Strategies to slow or prevent regrowth:
- Replace bare soil with something desirable: Grass, native groundcovers, or mulch to suppress weed seeds.
- Regular mowing or trimming: Don’t let invasive or fast-growing plants go to seed.
- Mulch deeply: 3–4 inches of wood chips or bark in planting beds reduces new sprouts.
- Monitor invasive species: Tackle new patches early when they are small and manageable.
- Prune annually: Light, regular trimming prevents shrubs and hedges from becoming unmanageable.
A little ongoing maintenance is far easier than another full-scale brush removal project a year or two later.
When to Call Professional Brush Removal Services
Some jobs are beyond the scope of DIY, especially when safety is at stake.
Consider hiring a professional if:
- There are large or hazardous trees near structures or power lines.
- Your property has steep slopes, ravines, or unstable ground.
- The brush removal area is very large, like several acres.
- You lack experience with chainsaws or heavy equipment and the job requires them.
- Your local regulations require licensed professionals for certain types of land clearing.
Pros bring specialized gear (like skid steers with brush cutters, forestry mulchers, and chippers) and can work far faster and more safely on big or complex projects.
Common Brush Removal Mistakes to Avoid
A few pitfalls frequently trip up homeowners:
- Over-clearing: Removing too much vegetation can cause erosion and reduce wildlife habitat. Aim for balance.
- Ignoring safety: Skipping safety gear, working alone with chainsaws, or climbing trees without proper training can lead to serious injuries.
- Not checking regulations: Some areas regulate tree and brush removal, especially near waterways, wetlands, or on steep slopes.
- Leaving piles against structures: Brush piled next to a house, shed, or fence can attract pests and increase fire risk.
- One-and-done mindset: Without a maintenance plan, cleared areas quickly revert to dense brush.
Avoiding these mistakes keeps your project efficient, legal, and sustainable.
FAQ: Homeowner Questions About Brush Removal
1. What is the most cost-effective way to clear brush on a small property?
For small yards with moderate overgrowth, the most cost-effective brush removal method is usually DIY with hand tools and perhaps a rented brush mower for a day. Start by cutting and stacking debris, then use municipal yard-waste collection or a low-cost green waste facility for disposal. Renting expensive machinery only makes sense if you have a large area or very dense growth.
2. How can I do land clearing and brush removal without using chemicals?
Non-chemical brush removal focuses on mechanical methods: cutting, digging out roots, repeated mowing, and mulching. After clearing, cover exposed soil with thick mulch or plant groundcover to shade out new weeds. Persistent species may require multiple cutbacks per season to exhaust their root systems, but you can achieve effective land clearing without herbicides if you’re consistent.
3. Is it safe to burn brush piles after land and brush clearing?
Burning can be safe and effective only if it’s legal in your area and done under the right conditions. Always check local regulations and permit requirements first. Choose a clear, wind-free day; keep the fire away from structures and trees; have water and tools ready; and never leave a burn unattended. If you’re unsure, opt for chipping or hauling instead of burning brush.
Take Control of Your Property with Smart Brush Removal
A well-planned brush removal project transforms your land from overgrown and risky to usable, attractive, and safer against fire and pests. By assessing your property, using the right tools, working methodically, and planning for disposal and regrowth control, you can handle much of the work yourself—and know when to bring in professionals.
If you’re ready to reclaim your yard, start by walking your property, marking what to keep, and mapping out a small, manageable area to tackle first. From there, build momentum. And if you’d like tailored guidance for your specific lot, local climate, and goals—or help finding reputable brush removal pros in your area—reach out to a qualified land management or tree care service and turn your vision for your property into reality.
Junk Guys Inland Empire
Phone: 909-253-0968
Website: www.junkguysie.com
Email: junkguysie@gmail.com