
If you’ve ever walked into a damp, musty room, you already know why a dehumidifier can be a lifesaver. But when it’s time for dehumidifier removal—whether the unit is broken, outdated, or no longer needed—many people don’t realize that doing it wrong can actually increase the risk of mold and moisture problems. Handling the process carefully protects your home, your health, and the environment.
This guide walks you through step-by-step dehumidifier removal, from safe shutdown to disposal, and explains how to prevent mold from creeping back in once the machine is gone.
Why Proper Dehumidifier Removal Matters
Dehumidifiers do more than pull water out of the air; they’re often a key part of your home’s moisture-control system. Removing one without a plan can create sudden humidity spikes, which encourage mold spores to colonize damp surfaces—especially in basements, crawlspaces, bathrooms, and laundry areas.
Proper dehumidifier removal matters for three big reasons:
-
Mold Prevention
Moisture can rebound quickly once the dehumidifier is gone. Without other controls in place, humidity can shoot past 60%, the level at which mold growth becomes far more likely (source: U.S. EPA). -
Safety and Environmental Regulations
Many modern dehumidifiers contain refrigerant and electronic components that must be disposed of or recycled properly. Dumping them in regular trash can be illegal and harmful to the environment. -
Preventing Hidden Water Damage
The way you disconnect and move the unit—especially if there’s a drain hose or full tank—influences whether water ends up inside walls, under flooring, or around baseboards.
Step 1: Prepare the Area Before Removal
Before you unplug anything, take a few minutes to prep the space. Good preparation helps you avoid spills, electrical hazards, and new moisture problems.
- Turn the unit off using the power button first. Let the fan stop completely.
- Clear the surrounding area so you can move safely around the device. Remove boxes, rugs, or anything that could trip you up.
- Protect surfaces with an old towel or tray under the unit in case of drips when you disconnect hoses or remove the bucket.
- Ventilate the space if possible. Opening a window or door briefly can help equalize humidity and provide fresh air.
If the dehumidifier is in a tight space—like a small closet or crawlspace—make sure you have enough lighting and a safe path to carry it out.
Step 2: Safely Power Down and Disconnect
Electricity and moisture don’t mix. The next phase of dehumidifier removal is all about safety.
-
Unplug the unit from the wall outlet.
Never work on hoses, tanks, or components while the machine is still plugged in. -
Inspect the power cord.
If the insulation is damaged or brittle, handle it carefully and avoid wrapping it too tightly when you store or transport the unit. -
Check for standing water nearby.
If there’s water on the floor around the unit, dry it up before moving the machine. This reduces slip risk and prevents moisture from seeping into baseboards or subflooring.
If your dehumidifier is hardwired (more common in built-in or whole-house units), consider hiring a licensed electrician or HVAC professional for safe disconnection.
Step 3: Empty Tanks and Hoses Without Creating New Moisture Problems
This is where many dehumidifier removals go wrong. Spill a few gallons of water onto drywall or carpeting, and you’ve just created ideal conditions for mold.
For bucket-style dehumidifiers
- Slowly slide out the collection bucket or reservoir to prevent sloshing.
- Carry it upright to a utility sink, floor drain, or tub.
- Empty completely, then rinse to remove any slimy residue or mineral buildup.
- Dry the bucket with a clean towel. If you’re storing the unit, leave the bucket out to air-dry fully.
For hose-drain dehumidifiers
- Check if the hose is elevated anywhere; water can pool in low spots.
- Place a bucket under the hose end before disconnecting from a drain or pump.
- Pinch or kink the hose slightly as you detach it from the dehumidifier to control flow.
- Drain the hose outside or in a tub until no more water comes out.
- Inspect the hose for mold or slime; discard if you see visible growth, especially if you’re not planning to reuse it.
Be cautious with any built-in condensate pump. Switch it off before disconnecting, and allow any reservoir to drain.
Step 4: Clean the Dehumidifier Before Storage or Disposal
Even if you’re getting rid of the unit, a quick clean helps prevent mold spores and bacteria from spreading as you move it through your home.
Focus on four areas:
-
Exterior Housing:
Wipe with a damp cloth and mild detergent. Pay attention to air vents and louvers where dust collects. -
Air Filter:
If accessible, remove the filter and vacuum or wash it according to the manufacturer’s instructions. Let it dry completely before putting it back. -
Water Bucket/Reservoir:
After rinsing, wipe with a solution of mild detergent or a small amount of white vinegar diluted in water. Avoid harsh chemicals that might react with plastics. -
Coils and Fins:
If visible, use a soft brush or dry cloth to gently remove dust. Do not bend the fins or use water directly on electrical components.
Cleaning before dehumidifier removal also makes it easier for recycling centers or service technicians to handle the unit.
Step 5: Manage Humidity After Dehumidifier Removal
Once the dehumidifier is gone, your home’s humidity can change quickly—especially in basements, bathrooms, and laundry rooms. To prevent mold growth, monitor and manage humidity right away.
Measure humidity
- Use a hygrometer (often under $20) to track relative humidity.
- Aim for 30–50% indoor humidity. Above 60%, mold growth risk rises sharply.
Improve ventilation and airflow
- Run exhaust fans in bathrooms and kitchens during and after showers or cooking.
- Keep interior doors open to promote airflow.
- Use floor or box fans in corners or near previously damp areas.
Reduce moisture at the source
- Fix leaks in pipes, appliances, and around windows and foundations.
- Make sure clothes dryers vent outdoors and the vent is not blocked.
- Avoid drying clothes indoors without ventilation.
Consider alternatives
If your dehumidifier failed or you’re replacing it:
- Upgrade to a more efficient ENERGY STAR® model for lower operating costs.
- Explore whole-house dehumidifiers if humidity is a consistent, whole-home issue.
- In small spaces, try desiccant dehumidifiers or moisture-absorbing crystals as temporary measures.
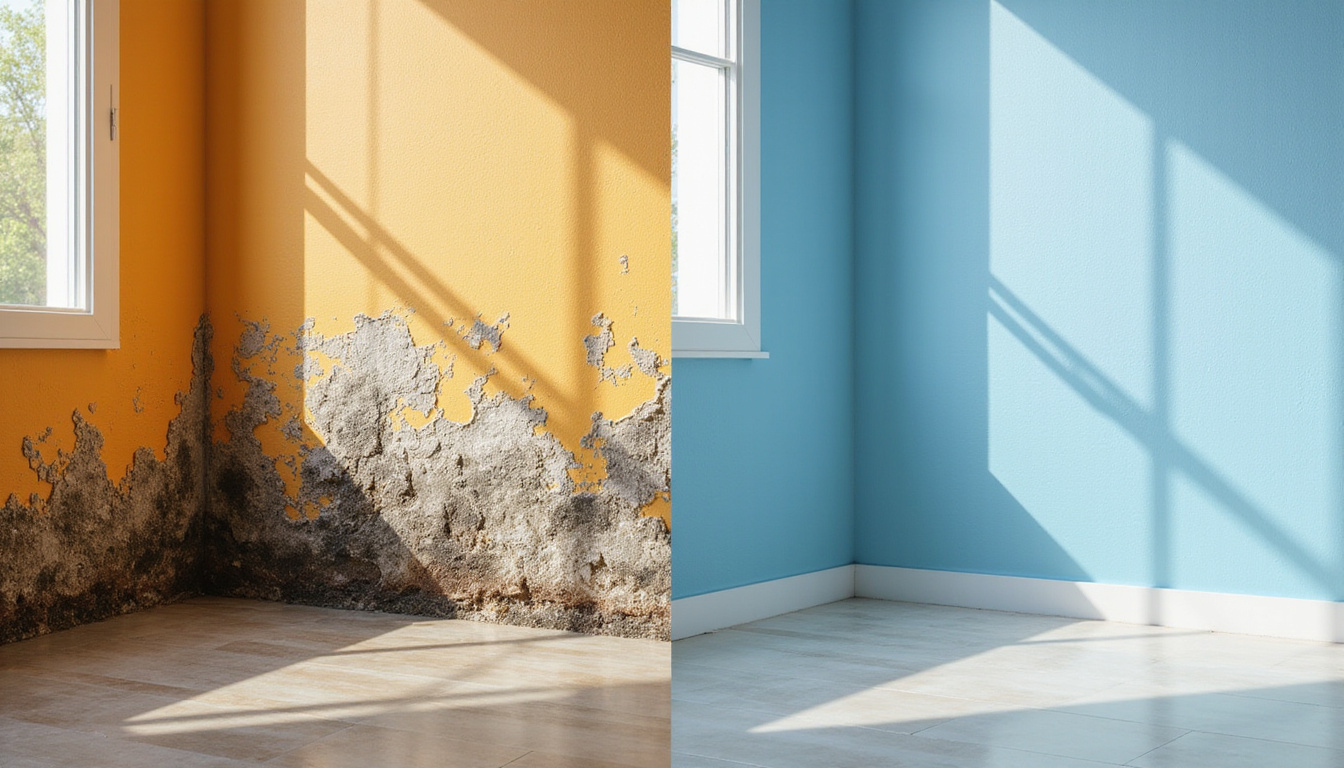
By proactively controlling humidity after dehumidifier removal, you cut off mold’s primary lifeline: excess moisture.
Step 6: Prevent Mold in High-Risk Areas
Some spaces are notorious for mold issues once a dehumidifier is removed. Focus on these to stay mold-free:
Basements and crawlspaces
- Seal foundation cracks and check for seepage after heavy rain.
- Use vapor barriers on crawlspace floors where appropriate.
- Keep stored items off the floor on shelves or pallets.
- Avoid cardboard boxes; use plastic bins with lids instead.
Bathrooms and laundry rooms
- Run a vent fan during showers and for at least 20–30 minutes afterward.
- Squeegee shower walls and doors to reduce residual moisture.
- Leave washing machine doors slightly open between loads.
- Clean lint traps and ensure vents are unobstructed.
Around windows and exterior walls
- Check for condensation on cold days; wipe it away and improve insulation if needed.
- Move furniture slightly away from outside walls to allow air circulation.
Early signs of mold include earthy or musty smells, small dark or colored spots on walls or baseboards, and persistent dampness. Address these immediately—ignoring them allows the problem to spread and become much harder to fix.
Step 7: Eco-Friendly Disposal and Recycling
Dehumidifier removal doesn’t end at your garage. Because they contain refrigerants and electronic components, they must be disposed of responsibly.
Disposal options
-
Municipal Recycling Programs
Many cities accept dehumidifiers as part of appliance recycling or special waste programs. Check your city or county website. -
Retailer Take-Back Programs
Some appliance stores or big-box retailers offer trade-in or recycling when you purchase a new unit. -
Certified E-Waste/Refrigerant Recyclers
Look for local facilities that handle appliances containing refrigerants. They’re equipped to capture and recycle or destroy refrigerants safely. -
Scrap Metal Yards (with caution)
Some accept dehumidifiers, but always confirm that they properly handle refrigerant and electronics, not just toss them in a pile.
Never cut refrigerant lines or attempt to remove refrigerant yourself. In many places, it’s illegal without proper certification and equipment.
Quick Checklist for Safe, Mold-Free Dehumidifier Removal
Use this list as a simple guide when you’re ready to remove your unit:
- Turn off the dehumidifier and unplug it.
- Clear the surrounding area and lay down towels or a tray.
- Remove and empty the water bucket or drain hose carefully.
- Dry the bucket and hose; clean and disinfect if needed.
- Wipe down exterior, filter, and accessible coils.
- Move the unit out of the damp area without tipping or spilling.
- Measure humidity in the room and improve ventilation.
- Address any leaks or moisture sources in the area.
- Arrange proper recycling or disposal according to local rules.
FAQ: Common Questions About Dehumidifier Removal and Mold
Q1: Can removing a dehumidifier cause mold to grow?
Yes—if indoor humidity rises above about 60% after dehumidifier removal, mold growth becomes much more likely, especially in poorly ventilated or previously damp spaces. That’s why it’s vital to monitor humidity with a hygrometer and improve airflow and moisture control immediately after taking your unit out.
Q2: What should I do after dehumidifier disposal to keep my basement dry?
After dehumidifier disposal, focus on multiple moisture-control strategies: sealing foundation cracks, adding or improving sump pumps or drainage if needed, using fans and ventilation, and avoiding storage directly on concrete floors. If humidity remains consistently high, consider replacing the old unit with a more efficient model or installing a whole-house system.
Q3: Is it safe to leave a broken dehumidifier in place without using it?
Leaving a broken unit sitting in a damp area can be risky. Standing water in the tank or hoses can become a breeding ground for mold and bacteria. If repair isn’t planned quickly, follow safe dehumidifier removal steps: unplug, empty and dry the tank and hoses, clean the unit, and move it to a dry space until it can be repaired, recycled, or disposed of properly.
Take Control of Moisture Before Mold Takes Hold
Dehumidifier removal is more than just hauling an appliance out of your basement. Done thoughtfully, it’s an opportunity to reassess how you manage moisture, upgrade to more efficient equipment if needed, and lock in long-term mold prevention.
If your current unit is failing, noisy, or no longer keeping up with humidity, don’t wait for mold or water damage to appear. Take the steps outlined here today: remove the old dehumidifier safely, monitor humidity levels, and put a robust moisture-control plan in place. Your next move—whether it’s investing in a new dehumidifier, improving ventilation, or fixing leaks—can make the difference between a fresh, healthy home and one struggling with persistent mold and musty odors.
Act now to protect your home and your health: plan your dehumidifier removal, check your humidity, and choose the right solution to keep dryness and comfort on your side.
Junk Guys Inland Empire
Phone: 909-253-0968
Website: www.junkguysie.com
Email: junkguysie@gmail.com