
Furniture Upcycling Hacks That Turn Junk Into High-End Home Decor
Furniture upcycling is one of the smartest ways to transform tired, outdated pieces into stylish, high-end home decor—without the high-end price tag. Instead of sending old furniture to the landfill, you can reinvent it with paint, hardware, fabric, and a bit of creativity. Whether you’re a total beginner or a seasoned DIYer, these furniture upcycling hacks will help you turn “junk” into custom pieces that look like they came from a designer showroom.
Why Furniture Upcycling Is Worth Your Time
Before diving into the hacks, it’s worth understanding why furniture upcycling is so powerful—for your wallet, your style, and the planet.
1. It saves money:
New quality furniture is expensive. With furniture upcycling, you can pick up secondhand items for cheap (or free) and invest a little time and materials to get a high-end look.
2. It’s better for the environment:
Upcycling keeps furniture out of landfills and reduces demand for new resources used to manufacture mass-market pieces. The EPA estimates that millions of tons of furniture and furnishings end up in U.S. landfills every year (source: U.S. EPA). Upcycling directly cuts into that waste stream.
3. It lets you create custom pieces:
Instead of settling for what’s in stores, you can tailor color, hardware, size, and style to your exact taste.
How to Spot the Best Pieces for Upcycling
Not every cheap piece is worth your effort. Successful furniture upcycling starts with choosing the right “bones.”
Look for Solid Construction
Focus on pieces made from:
- Solid wood (not just veneer over particleboard)
- Sturdy joints (dovetail drawers, mortise-and-tenon, or at least tight screws)
- Stable frames without major wobbling
Small flaws are fine; structural damage that compromises safety is usually not worth fixing unless you have advanced skills.
Check for Function, Then Style
Ask yourself:
- Does it serve a useful function in your home (storage, seating, surface area)?
- Is the size right for your space?
- Can the overall shape work with a style you like (modern, traditional, rustic, industrial)?
You can change almost everything about a piece’s appearance, but you can’t easily change its proportions.
Where to Find Upcycling Gold
- Thrift stores and charity shops
- Facebook Marketplace and Craigslist
- Curbside “free” piles on bulk trash days
- Yard sales and estate sales
- Family attics, basements, and garages
Prep: The Step Most People Skip (But Shouldn’t)
The difference between a DIY-looking project and a high-end one usually comes down to prep. Before you start any furniture upcycling project, do this:
Clean Thoroughly
Old furniture often has wax, oils, or grime that will ruin paint adhesion.
- Use a degreaser or a mix of warm water and mild detergent.
- Remove all hardware first.
- Let it dry completely.
Sand Smart, Not Hard
You usually don’t need to strip to bare wood for paint, but you do need to give the surface some “tooth.”
- Use 120–180 grit sandpaper to scuff glossy finishes.
- Wipe off dust with a tack cloth or damp rag.
- For veneer, sand lightly to avoid going through the top layer.
Prime for a Professional Finish
Primer helps paint stick and blocks stains. It’s especially important for:
- Dark or reddish woods that can bleed through paint
- Laminate and slick finishes
- High-use surfaces like tabletops and dressers
Paint Hacks That Make Old Furniture Look Expensive
Paint is the most transformative tool in furniture upcycling. The right technique can take a $20 thrift store find and make it look designer.
Use the Right Paint for the Job
- Chalk paint: Great for beginners; adheres well with minimal prep and sands easily for a distressed look.
- Acrylic/latex paint: Durable, comes in endless colors; ideal with a good primer.
- Enamel or alkyd paint: Hard, smooth finish for cabinets and high-wear furniture.
For a high-end look, choose satin or semi-gloss; flat paint can look chalky if not sealed properly.
Color Strategies That Elevate the Look
- Deep, saturated colors (ink blue, charcoal, forest green) add a luxe feel.
- Soft neutrals (warm white, greige, taupe) look sophisticated and versatile.
- Two-tone finishes (dark base, light top; or painted body with wood top) add interest.
Avoid very bright, primary colors unless you’re going for a specific playful or eclectic style.
Achieve a Smooth, Professional Finish
- Use a high-quality synthetic brush for water-based paints.
- Try a foam roller or small HVLP sprayer for ultra-smooth surfaces.
- Do multiple thin coats rather than one thick coat.
- Lightly sand with 220–320 grit between coats for a buttery finish.
Seal with a clear polyurethane, polycrylic, or furniture wax depending on the look and durability needed.
Hardware Swaps: Small Change, Huge Impact
One of the fastest, easiest furniture upcycling hacks is swapping out the hardware. Cheap knobs and pulls can instantly make a piece look dated; modern pieces almost always feature refined, substantial hardware.
Choose High-End Looking Hardware
Look for:
- Solid metal (brass, brushed nickel, matte black) rather than lightweight, hollow pieces
- Simple, clean lines for a modern look
- Classic cup pulls, bar pulls, or knobs for a traditional or transitional feel
Even if you spend more on hardware than on the piece itself, the result can rival designer furniture.
Install Like a Pro
- Measure carefully so all pulls line up perfectly.
- Use a hardware jig or template for consistent placement.
- Fill and sand old hardware holes if you’re changing styles or spacing.
Transforming Junk: Before-and-After Project Ideas
Here are some practical ways to use furniture upcycling to turn common “junk” pieces into high-end home decor.
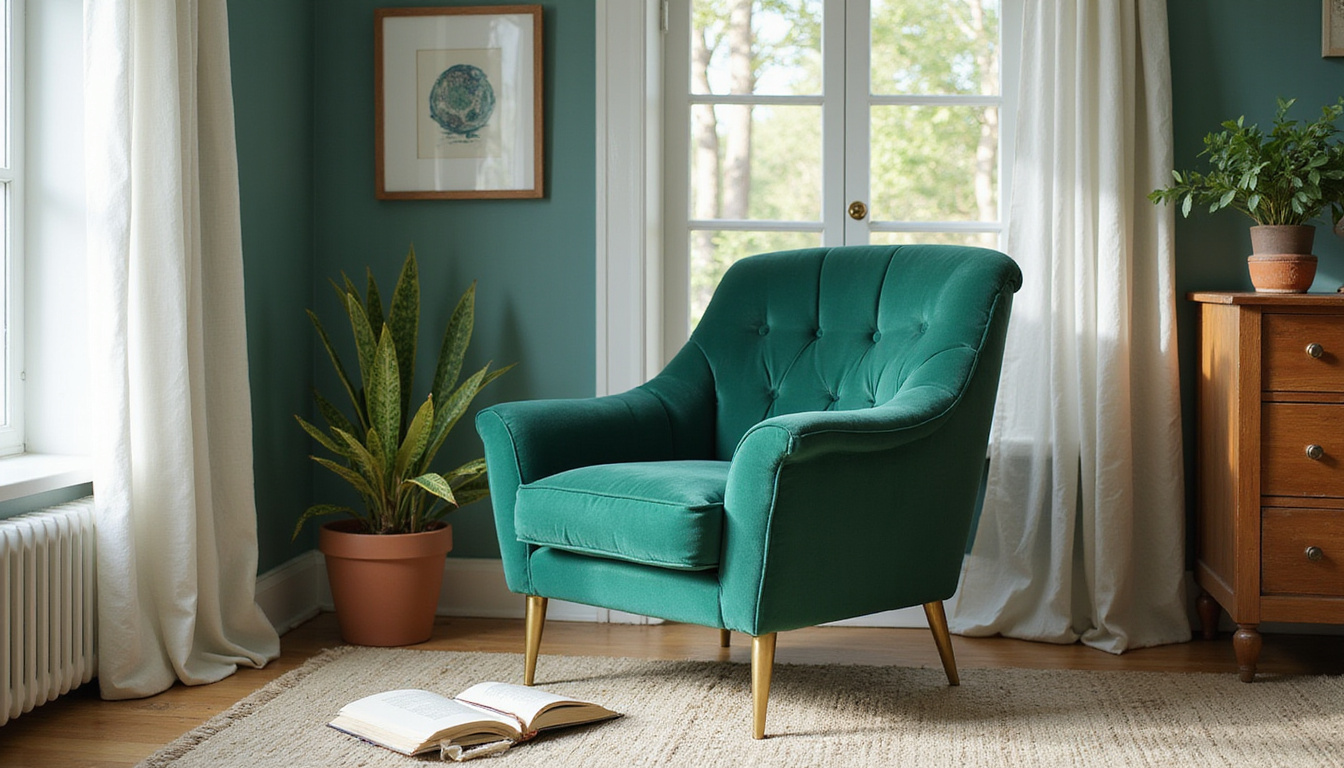
1. Old Dresser → Modern Credenza or Media Console
What to do:
- Remove some drawers and replace with open shelving.
- Paint the body in a rich, modern color.
- Sand and stain (or re-veneer) the top for a wood-and-color contrast.
- Add sleek handles and furniture legs, if needed, to lift it off the floor.
Result: A stylish storage piece that looks custom-built.
2. Coffee Table → Upholstered Ottoman
What to do:
- Choose a sturdy coffee table with a solid top.
- Add foam padding and batting to the top, then staple upholstery fabric underneath.
- Paint or refinish the legs/frame to coordinate.
- Add tufting with buttons for a luxurious look.
Result: A soft, high-end ottoman perfect for living rooms and reading nooks.
3. Dining Chairs → Statement Accent Seating
What to do:
- Remove the old seat fabric and padding.
- Clean and paint or stain the frame.
- Reupholster the seat with a bold, high-quality fabric.
- Consider mixing fabrics—pattern on the front, solid on the back—for a designer twist.
Result: Unique accent chairs that look nothing like their dated predecessors.
Simple List of Go-To Furniture Upcycling Hacks
When you’re staring at an old piece and don’t know where to start, use this list for inspiration:
- Paint it a deep, dramatic color for instant sophistication.
- Swap out the hardware for heavy, modern knobs or pulls.
- Add new legs (hairpin, tapered mid-century, carved wood) to completely change the vibe.
- Apply peel-and-stick wallpaper or cane to drawer fronts or cabinet doors for texture.
- Replace glass panels with cane webbing, wood slats, or frosted glass.
- Create contrast by painting the body and staining the top or vice versa.
- Line drawers with pretty paper or fabric for a subtle, high-end interior detail.
- Add molding or trim to flat drawer fronts or doors to mimic custom millwork.
- Convert pieces (dresser to bathroom vanity, door to headboard, nightstand to pet bed).
- Refinish wood instead of painting when the grain is beautiful—natural wood never goes out of style.
Finishing Touches That Make Pieces Look Designer
The magic is in the details. To take your furniture upcycling projects from “good” to “wow,” pay attention to finishing.
Smooth Edges and Clean Lines
- Fill any dents, holes, or deep scratches with wood filler.
- Sand corners slightly for a softer, more polished feel.
- Remove paint drips immediately; they scream “DIY” if left.
Inside Counts Too
- Paint or refresh the inside of cabinets and drawers.
- Replace or clean drawer liners.
- Consider adding soft-close hinges or drawer slides for a premium feel.
Protect the Surface
High-end pieces not only look good; they last.
- Use polycrylic for light-colored pieces to avoid yellowing.
- Use oil-based polyurethane for dark stains and rich wood tones (with good ventilation).
- Apply multiple thin coats and sand lightly between.
Safety and Sustainability Tips
Whenever you’re doing furniture upcycling, keep these safety and eco-friendly tips in mind:
- Check for lead paint on very old pieces. Use test kits and follow guidelines before sanding or stripping.
- Wear protection: mask, gloves, and eye protection when sanding or using chemicals.
- Ventilate well when using paints, primers, or sealants.
- Reuse and recycle offcuts, old hardware, and wood where possible.
The greenest option is often to work with what you already have instead of buying new.
FAQ: Furniture Upcycling and High-End Looks
What is furniture upcycling and how is it different from recycling?
Furniture upcycling means taking an existing piece and improving it—changing its look, function, or quality so it becomes more valuable and desirable. Recycling usually involves breaking materials down (like melting metal or pulping paper). With furniture upcycling, you’re creatively reusing the original piece instead of destroying it.
Can I do furniture upcycling with laminate or IKEA furniture?
Yes, you can upcycle laminate and flat-pack furniture, but surface prep is crucial. Clean thoroughly, lightly sand to remove gloss, and use a bonding primer specifically rated for slick surfaces. Then paint, add new hardware, apply trim, or use contact paper and overlays to elevate the look.
What are some budget-friendly furniture upcycling ideas for beginners?
Start small and simple: paint a side table, swap hardware on a dresser, or reupholster dining chair seats. Use sample paint pots, leftover wall paint, or clearance hardware to keep costs down. As you gain confidence, you can move on to bigger projects like dressers, cabinets, and tables.
Turn Your “Junk” Into Investment Pieces
You don’t need a huge budget or professional workshop to create high-end home decor. With thoughtful furniture upcycling—good prep, smart color choices, hardware upgrades, and attention to detail—you can turn castoffs into custom pieces that fit your space and style perfectly.
Look around your home, your garage, or your local thrift store with new eyes. That scratched dresser, wobbly chair, or dated coffee table might be just one weekend away from becoming your favorite piece of furniture. Start with one project, apply a few of these hacks, and experience how rewarding it is to transform “junk” into something you’re proud to show off.
Ready to begin? Pick one piece today, gather your materials, and take the first step into furniture upcycling. Your next high-end decor upgrade might already be sitting in your living room—you just haven’t upcycled it yet.
Junk Guys Inland Empire
Phone: 909-253-0968
Website: www.junkguysie.com
Email: junkguysie@gmail.com