
Appliance Collection Organization: Easy Tricks to Maximize Kitchen Space
A growing appliance collection can make cooking easier and more fun—until your counters disappear under coffee makers, air fryers, and blenders. The challenge isn’t having too many tools; it’s how you organize them. With a few smart strategies, you can reclaim your counters, streamline your routine, and make your kitchen feel bigger without a remodel.
Start by Taking Inventory of Your Appliance Collection
Before you organize, you need to know exactly what you’re working with.
-
Pull everything out
Empty cabinets, shelves, and counters. Place every appliance on a table or island: mixers, toasters, slow cookers, instant pots, food processors, coffee gear, and specialty gadgets. -
Sort into categories
- Daily use (coffee maker, toaster, microwave)
- Weekly use (blender, air fryer, stand mixer)
- Occasional use (slow cooker, waffle iron, rice cooker)
- Rarely/never used (ice cream maker, novelty gadgets)
-
Be honest about what you actually use
If an appliance hasn’t been used in a year and doesn’t have sentimental value, consider donating or selling it. Reducing your appliance collection by even 2–3 items can free a surprising amount of space. -
Identify duplicates and overlaps
Modern multi-cookers and air-fryer ovens can replace several gadgets. If two appliances do the same job, keep the one that’s more versatile or easier to clean.
Designate “Zones” to Control Counter Clutter
Zoning is one of the most effective ways to manage a large appliance collection and keep your kitchen from feeling chaotic.
The Three Main Appliance Zones
-
Daily-use zone (prime real estate)
This is visible counter space near outlets and the sink or fridge. Only your most-used appliances belong here—typically:- Coffee maker or espresso machine
- Toaster or toaster oven
- Microwave (if it can’t be wall-mounted)
-
Weekly-use zone (easy access, but off the main counter)
Use lower cabinets or a side counter for:- Blender
- Air fryer
- Stand mixer
- Food processor
-
Occasional-use zone (out-of-sight storage)
Store infrequently used items in:- High shelves
- Pantry floor or back shelves
- Basement shelving or a utility closet (if safe and dry)
Put a note in your phone or on a small list inside a cabinet door so you don’t forget where the lesser-used pieces live.
Use Vertical Space to Expand Your Kitchen Without Adding Square Footage
When organizing an appliance collection in a small kitchen, vertical space is your best friend.
Smart Vertical Storage Ideas
-
Sturdy wall-mounted shelves or rails
Use deep shelves with strong brackets to hold lightweight appliances like hand mixers or electric kettles. Rails with hooks are perfect for attachments and accessories. -
Over-fridge cabinets that actually get used
Many people treat over-fridge cabinets as dead space. Use clear bins or baskets to store:- Holiday or party appliances
- Specialty coffee gear
- Seasonal gadgets
-
Tiered risers inside cabinets
Shelf risers let you stack appliances without piling them dangerously. Keep heavier items on the bottom, lighter on top. -
Appliance “garage” with a roll-up or lift-up door
If you’re able to modify cabinetry, an appliance garage on the counter hides visual clutter while keeping daily items handy.
Prioritize Safety and Practicality in Your Layout
A beautifully organized appliance collection is useless if it’s unsafe or annoying to use.
Safety Considerations
-
Avoid stacking heavy appliances
Stand mixers, bread machines, or large slow cookers should go on lower shelves to prevent accidents when lifting. -
Watch heat and ventilation
Don’t trap air fryers, toaster ovens, or microwaves in tight or enclosed spaces. Follow manufacturer clearance guidelines to avoid overheating (source: Consumer Product Safety Commission). -
Mind outlet capacity
Don’t overload a single outlet with multiple high-wattage appliances. If you use a power strip, make sure it’s heavy-duty and rated for kitchen use—though plugging directly into the wall is usually safest.
Practicality Tips
-
Keep cords under control
Use:- Cord clips or wraps
- Adhesive cable channels on the back of cabinets
- Velcro ties for long cords
This prevents tangles, snags, and messy visuals.
-
Store heavy appliances at waist level or below
This makes it easier to lift a stand mixer or food processor without straining your back.
Assign “Homes” and Label Everything
Clarity is the key to maintaining an organized appliance collection over time.
Create Clear Homes for Each Appliance
-
One shelf per “type”
Group appliances by function:- Baking (stand mixer, hand mixer, scale)
- Beverage (coffee maker, grinder, kettle, frother)
- Prep (food processor, chopper, immersion blender)
-
Use bins or trays for smaller items
Place handheld or small electric items together in bins:- Electric can opener
- Electric whisk
- Sous-vide stick
-
Label shelves and bins
Use simple labels like “Baking Appliances,” “Coffee Station,” or “Party Gadgets.” This helps family members put things back where they belong.
Make the Most of Cabinets, Drawers, and Hidden Spots
Thoughtful use of hidden storage can dramatically increase your usable space.
Cabinet and Drawer Strategy
-
Pull-out shelves in lower cabinets
Install pull-out trays or sliding shelves to store heavier appliances. You’ll be able to see and access everything without crawling into the back of a cabinet. -
Deep drawers for mid-sized appliances
Wide, deep drawers can house:- Blenders
- Mixers
- Rice cookers
Add drawer dividers for accessories and cords.
-
Under-sink space for tough appliances
If there’s room and no risk from leaks, consider storing rugged items like an old blender or workhorse electric kettle under the sink.
Don’t Forget These Underused Areas
- The back of pantry floors
- Above-pantry or above-fridge space
- A small cart or island with storage under the surface
Aim to keep only the most-used portion of your appliance collection in your main cooking triangle (stove–sink–fridge), with the rest staged just outside that area.
Create Dedicated Stations for Better Flow
“Stations” group together appliances, tools, and ingredients for a specific task. This reduces walking around and makes your kitchen feel more organized, even with many appliances.
Popular Station Ideas
-
Coffee or beverage station
- Coffee maker or espresso machine
- Grinder, kettle, mugs, filters, sugar
- Store syrups or teas in a nearby drawer or shelf
-
Smoothie or breakfast station
- Blender, toaster, cutting board
- Oats, nut butters, protein powders in adjacent cabinet
-
Baking station
- Stand mixer, hand mixer, scale
- Flour, sugar, baking pans, spatulas stored nearby
-
Meal-prep station
- Food processor, slow cooker, instant pot
- Knives, cutting boards, storage containers in the same zone
Center each station around the relevant part of your appliance collection so you can work faster and clean up more easily.
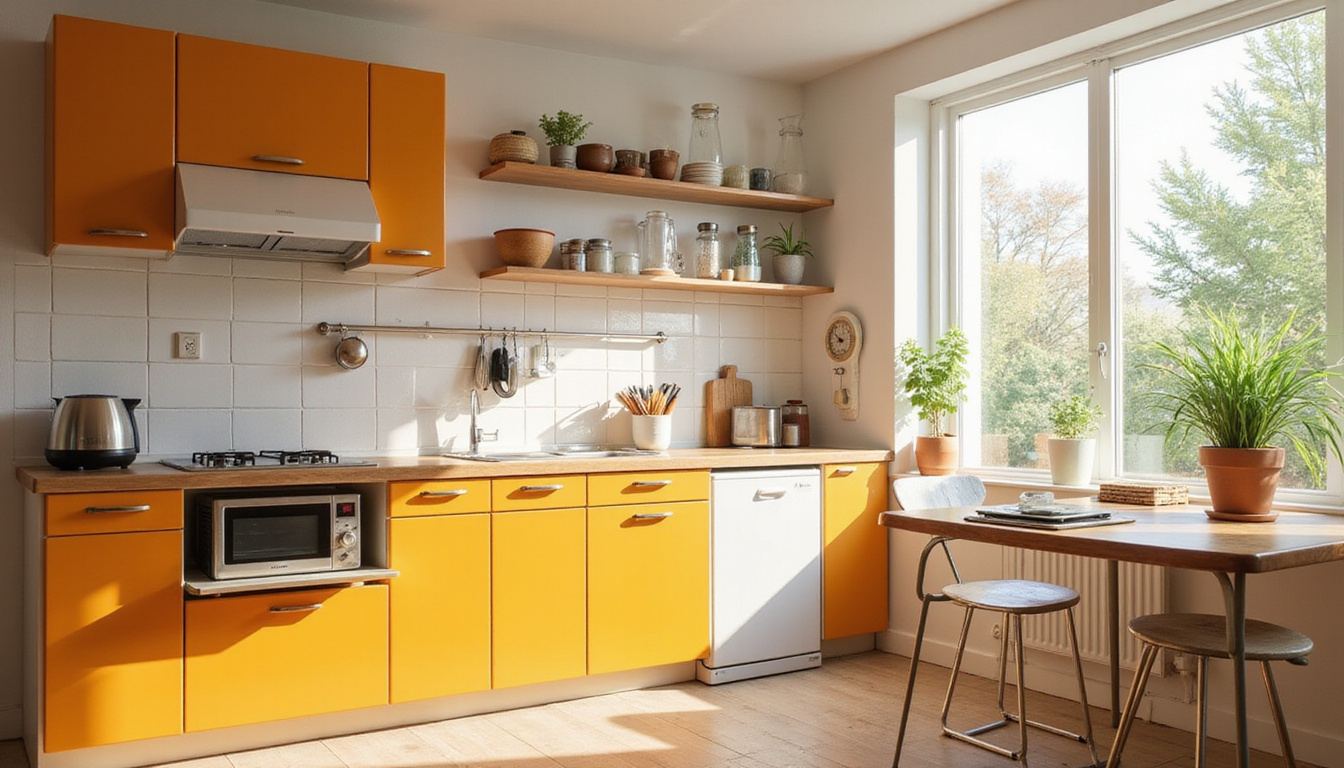
Use a Simple System to Decide What Stays on the Counter
If your countertops are constantly crowded, apply a strict rule set to what’s allowed to live there.
Ask these three questions for each appliance:
-
Do I use this at least five times a week?
If no, it likely doesn’t deserve permanent counter space. -
Does it significantly speed up a daily task?
A coffee maker usually qualifies; a waffle maker usually doesn’t. -
Is it difficult or annoying to move from a cabinet?
Heavy or awkward items get priority for accessible storage, even if used less often.
If an appliance fails this test, give it a designated cabinet or shelf instead of a spot on the countertop.
Simple Maintenance Habits to Keep Your System Working
An organized appliance collection won’t stay that way without a bit of routine.
Weekly (5–10 minutes)
- Return stray appliances to their zones
- Wipe down frequently used items (coffee maker, toaster, microwave)
- Check counters for “creep”—new gadgets that have migrated out of cabinets
Monthly (15–20 minutes)
- Reassess what you’re using regularly
- Shift rarely used items to higher or deeper storage
- Check cords and plugs for wear or damage
Seasonally (20–30 minutes)
- Rotate seasonal appliances (e.g., ice cream maker in summer, slow cooker in fall)
- Donate anything you still haven’t used in the last 6–12 months
This light maintenance makes sure your organizing work continues to pay off.
Quick Checklist: Organizing Your Appliance Collection
Use this checklist to streamline your process:
- [ ] Pull out every appliance and group by use
- [ ] Declutter duplicates and gadgets you don’t use
- [ ] Assign daily, weekly, and occasional use categories
- [ ] Create zones: daily-use, weekly-use, and occasional-use
- [ ] Use vertical storage (shelves, risers, over-fridge space)
- [ ] Store heavy appliances low and safely
- [ ] Tame cords with clips or ties
- [ ] Group by function (coffee, baking, prep, etc.)
- [ ] Label shelves, bins, and stations
- [ ] Set a recurring reminder for monthly/seasonal tune-ups
FAQ About Organizing a Kitchen Appliance Collection
1. How many kitchen appliances are “too many” for a small space?
There’s no fixed number; “too many” is when your appliance collection forces you to keep items on the counter that you don’t use weekly, or when it becomes hard to clean or cook efficiently. If you’re stacking appliances or moving things constantly just to prep a meal, it’s time to declutter or store some items outside the main kitchen area.
2. What’s the best way to store small kitchen appliances in cabinets?
For small kitchen appliances, use pull-out shelves or deep drawers so you can see everything without digging. Group by function (coffee, baking, prep), keep heavier items on lower shelves, and use bins for cords and attachments. Label shelves or bins so everyone knows where items belong.
3. How do I organize countertop appliances without losing space?
Limit countertop appliances to daily-use items that truly speed up your routine. Create micro-stations (like a coffee station or breakfast station), use an appliance garage if possible, and keep everything else in nearby cabinets. Regularly reassess what lives on the counter so it doesn’t turn into overflow storage for the rest of your appliance collection.
A streamlined, thoughtfully organized appliance collection can make even a small kitchen feel bigger, calmer, and more enjoyable to cook in. You don’t need a renovation—just clear zones, smart storage, and a system that matches how you actually live.
If you’re ready to transform your kitchen, start this week: pull every appliance out, declutter a few pieces, and set up just one new station or zone. Those small changes will give you instant breathing room—and once you feel the difference, you’ll be motivated to finish organizing the rest of your space.
Junk Guys Inland Empire
Phone: 909-253-0968
Website: www.junkguysie.com
Email: junkguysie@gmail.com