An apartment cleanout can feel overwhelming—especially if you’re moving, downsizing, or clearing out after a tenant. The good news: with the right checklist and a simple, step‑by‑step plan, you can get it done faster, with less stress, and without second‑guessing what to keep, donate, or toss.
This guide walks you through a complete apartment cleanout checklist, including decluttering by room, handling bulky items, disposing of junk responsibly, and staying organized so you finish on time.
Step 1: Set a Cleanout Game Plan (Before You Touch a Box)
Rushing into an apartment cleanout without a plan usually leads to piles shifting from one room to another. Spend 20–30 minutes setting up:
Define your deadline and scope
- What’s your hard deadline? Lease end? Move‑out inspection? Estate timeline?
- How big is the space? Studio vs. 2–3 bedrooms changes your time estimates.
- What’s the goal? Completely empty, or just major declutter and deep clean?
For most people, a full apartment cleanout takes 1–3 days of focused effort, depending on size and how much stuff you have.
Gather supplies before you start
Having everything ready cuts your time in half:
- Heavy‑duty trash bags (contractor bags if you have lots of junk)
- Cardboard boxes in multiple sizes
- Packing tape and scissors/box cutter
- Permanent markers and labels
- Cleaning supplies (all‑purpose cleaner, glass cleaner, microfiber cloths, mop)
- Gloves and masks (especially if there’s dust, mold, or old food)
- Basic tools (screwdriver, wrench, Allen keys) for disassembling furniture
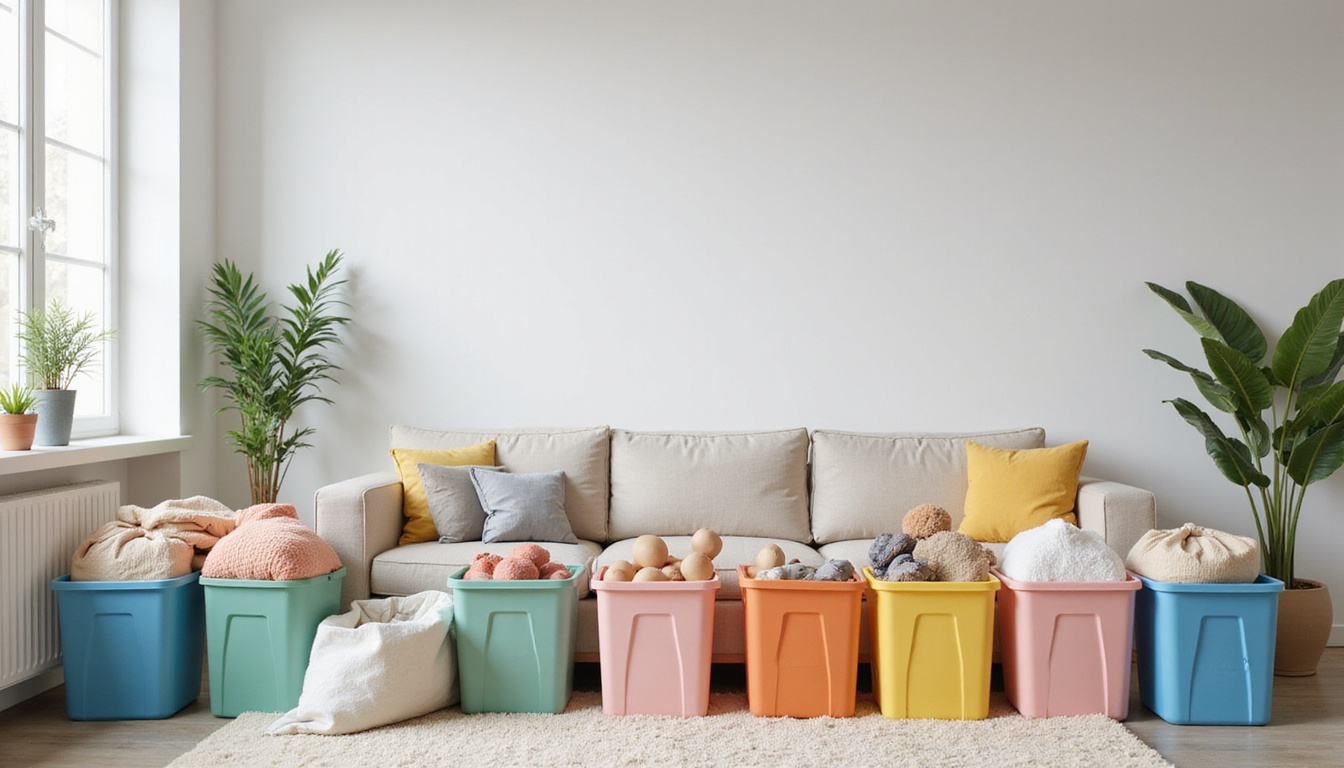
Set up four clearly labeled zones in or near the apartment:
- Keep
- Donate / Sell
- Recycle
- Trash / Junk
Everything you touch should go into one of these categories.
Step 2: Use a Simple Sorting System for Faster Decisions
Decision fatigue is the enemy of a stress‑free apartment cleanout. Use the “FAST” method in every room:
- F: Fix or repair – only if it’s worth the time and cost
- A: Assign a home – if it doesn’t have a logical place, consider letting it go
- S: Scrap – recycle, shred, or trash it
- T: Transfer – donate, sell, or give to someone who will use it
When you’re unsure, ask:
- Have I used this in the last 6–12 months (excluding seasonal items)?
- Would I buy this again today?
- Does this have real sentimental or practical value—or is it guilt/clutter?
If the honest answer is “no,” it likely goes into donate, recycle, or trash.
Step 3: Follow a Room‑by‑Room Apartment Cleanout Checklist
Working room by room keeps you from feeling scattered. Always start with the least emotional spaces (bathroom, kitchen) and leave sentimental items (photos, keepsakes) for last.
Kitchen cleanout checklist
The kitchen collects expired food, mystery gadgets, and duplicate items. Tackle it in this order:
-
Fridge and freezer
- Toss expired or freezer‑burned food.
- Wipe shelves and drawers.
- Unplug and prop doors open if the unit will be unused for a while.
-
Pantry and cabinets
- Check expiration dates.
- Group unopened, non‑expired food to donate to a local food bank (source: Feeding America).
- Remove and sort duplicates: extra spatulas, pans, mugs, etc.
-
Drawers and utensils
- Create a basic set to keep: 1–2 spatulas, 1–2 knives, 1 cutting board, etc.
- Donate or discard damaged or unused gadgets.
-
Appliances
- Decide what you truly use: coffee maker, toaster, blender, etc.
- Wipe and pack small appliances; consider selling extras.
-
Final kitchen tasks
- Wipe counters, cabinets, backsplash, and appliances.
- Sweep and mop the floor.
Bathroom cleanout checklist
Bathrooms are typically quick, which makes them a great early win.
-
Cabinets, drawers, and shelves
- Toss expired medications (dispose via pharmacy or community drop‑off).
- Discard old makeup, lotions, and half‑used products you never reach for.
- Keep only one backup for essentials (toothpaste, shampoo).
-
Linen closet
- Sort towels: keep 2–3 per person plus 1–2 for guests.
- Donate old but usable towels and linens to animal shelters.
-
Final bathroom tasks
- Clean mirror, sink, tub/shower, and toilet.
- Empty trash and wipe all surfaces.
Bedroom cleanout checklist
Bedrooms hold most of your clothing and personal items. Be honest and systematic.
-
Clothes
- Pull out all items by category: shirts, pants, dresses, jackets, shoes.
- Try the “one‑year rule” (minus special occasion/seasonal wear).
- Create piles: keep, donate, sell, recycle (stained/worn items).
-
Closet and storage
- Sort bags, belts, hats, accessories.
- Limit sentimental clothing to a small bin if possible.
-
Nightstands and dressers
- Toss trash, old receipts, dead chargers and cables.
- Store only items you actually use daily or weekly.
-
Final bedroom tasks
- Strip bedding and decide what stays or goes.
- Vacuum/mop floor and dust surfaces.
Living room cleanout checklist
The living room often holds bulky furniture and electronics.
-
Media and electronics
- Sort DVDs, games, cords, remotes, and devices.
- Recycle broken electronics at e‑waste facilities.
- Donate or sell working devices you no longer use.
-
Books, décor, and knickknacks
- Keep only what you truly love or regularly use.
- Donate books and excess décor.
-
Furniture
- Decide which pieces are worth moving (consider size, condition, and new space).
- Measure large items to ensure they’ll fit in your next place.
-
Final living room tasks
- Clear surfaces, wipe down furniture, and vacuum.
Entryway, hallways, and storage areas
Don’t forget these hidden clutter zones:
- Coat closets (limit coats and shoes per season)
- Utility closets (old tools, cleaning products, random items)
- Under‑bed storage and “junk corners”
Apply the same keep/donate/recycle/trash rules.
Step 4: Handle Bulky Items and Junk the Smart Way
A big part of any apartment cleanout is disposing of what you’re not taking with you.
Know your building and city rules
-
Check your lease and building guidelines for:
- Bulk trash rules
- Use of freight elevators and move‑out times
- Fines for leaving items in hallways or on the curb
-
Review your city’s waste and recycling website for:
- Bulk item pickup days
- Rules for mattresses, furniture, and electronics
- Hazardous materials disposal (paint, chemicals, batteries)
Options for getting rid of large items
- Donation pickups – Some charities offer scheduled pickups for furniture and usable items.
- Junk removal service – Fastest for a full apartment cleanout or when you’re on a tight timeline.
- Self‑haul – Rent a truck or use a friend’s vehicle to take items to the dump or recycling center.
- Sell/give away apps – Use local marketplaces and “buy nothing” groups for quick item rehoming.
Step 5: Schedule Cleaning After the Declutter
Cleaning before you’re done decluttering is a time‑waster. Once furniture and boxes are mostly out:
Basic move‑out cleaning checklist
- Dust all surfaces, shelves, and window sills.
- Wipe inside cabinets and drawers.
- Clean kitchen appliances (inside fridge, oven, microwave).
- Scrub sinks, tubs, toilets, and tile.
- Clean mirrors and windows (as accessible).
- Vacuum and mop all floors.
- Patch small nail holes if required by your lease.
If you’re short on time or energy, consider hiring a move‑out cleaning service, especially if you’re aiming to get your full security deposit back.
Step 6: Protect Your Security Deposit During Cleanout
A well‑executed apartment cleanout can significantly improve your chances of a full refund.
- Photograph each room after cleanout and cleaning.
- Repair minor damage (nail holes, scuffs) where possible.
- Remove all trash; don’t leave anything behind unless agreed to in writing.
- Return keys and access cards exactly as your landlord or property manager instructs.
If something is already damaged or worn from normal use, document it so you have a record if there’s a dispute.
Quick Apartment Cleanout Checklist (At a Glance)
Use this short list as your end‑of‑process double check:
- All cabinets, drawers, and closets are empty.
- Fridge, freezer, and pantry cleared and wiped.
- No trash bags, boxes, or items left in rooms, closets, or balcony.
- All personal documents are packed or shredded—none left behind.
- Furniture removed or neatly staged if agreed to stay.
- Appliances unplugged (if required) and cleaned.
- Floors swept/vacuumed and mopped.
- Photos taken of each room.
- Keys, fobs, and garage clickers gathered for return.
- Building and city disposal rules followed; no items left where they’re not allowed.
Time‑Saving Tips for a Faster Apartment Cleanout
- Work in 60–90 minute sprints with short breaks to avoid burnout.
- Start with the biggest impact areas (kitchen, closet) to free up space fast.
- Enlist help from friends or family and assign specific rooms or tasks.
- Use a “no backtracking” rule: once a room is done, don’t bring new items into it.
- Keep donation and trash runs scheduled so bags and boxes don’t pile up.
FAQ: apartment cleanout and decluttering
1. How long does an apartment cleanout usually take?
For a typical 1‑bedroom apartment cleanout, plan on 1–2 full days of focused work if you’re doing it yourself. Larger apartments, heavy clutter, or estate cleanouts can take 3–4 days. Hiring a junk removal and/or cleaning service can shorten that timeline significantly.
2. What’s the best way to organize an apartment declutter before moving?
Treat your move like an apartment cleanout before moving: start 2–4 weeks in advance, work room by room, and label everything as keep, donate, recycle, or trash. Pack only what you’re keeping in clearly marked boxes by room, and schedule donation pickups and junk removal early to avoid a last‑minute scramble.
3. How do I dispose of junk during an apartment cleanout without breaking building rules?
When planning an apartment junk removal strategy, first check your lease, building rules, and city waste guidelines. Use approved bulk pickup days, book a junk removal company that knows local regulations, and avoid leaving large items in hallways or common areas, which can lead to fines or lost deposits.
A streamlined, step‑by‑step approach turns a stressful apartment cleanout into a manageable project. Use this checklist, stick to clear categories (keep, donate, recycle, trash), and schedule your disposal and cleaning smartly. If you’d like to make the process even easier, consider partnering with a local junk removal or move‑out cleaning service so you can focus on your next chapter instead of your old clutter.
Junk Guys Inland Empire
Phone: 909-253-0968
Website: www.junkguysie.com
Email: junkguysie@gmail.com