If you’re staring at that clunky old appliance and wondering how to tackle trash compactor removal without turning your kitchen into a construction zone, you’re not alone. Thousands of homeowners are ditching compactors in favor of more useful storage, built-in trash pullouts, or even beverage stations. With the right plan, you can safely remove a compactor, reclaim valuable cabinet space, and upgrade your kitchen’s function in a weekend.
Below is a step-by-step, people-first guide to doing it smart, safe, and fast—plus some pro hacks contractors use to keep projects on track.
Step 1: Decide if DIY trash compactor removal is right for you
Before you grab a screwdriver, decide whether you should do this yourself or hire help.
DIY might be right if:
- You’re comfortable turning off power at the breaker.
- You can safely move a 100–150 lb appliance (with help).
- You have basic tools: drill/driver, adjustable wrench, pry bar.
Hire a pro if:
- You’re unsure about electrical or plumbing.
- Your compactor is hard-wired (no plug).
- The surrounding cabinets or flooring are custom and expensive.
- You’re planning a bigger kitchen remodel soon.
For many modern compactors that are simply plugged into an outlet in the adjacent cabinet, trash compactor removal is often a straightforward DIY job. Hard-wired units or unusual installations are better left to an electrician or handyman.
Step 2: Prep the area like a professional
Smooth, quick projects start with good prep. A few minutes here can save you hours of frustration and prevent damage.
Pro prep checklist:
- Clear the surrounding area – Empty nearby cabinets and remove anything on the counter directly above the compactor.
- Protect your floors – Lay down a moving blanket, cardboard, or a piece of plywood in front of the unit. Compactors are heavy and can gouge wood or tile.
- Plan your exit route – Measure doorways and hallways to ensure you can roll or carry the compactor out without getting stuck.
- Get a helper – Even if you’re strong, the shape and weight distribution make these awkward to move alone.
Safety note: Always wear sturdy gloves and closed-toe shoes. Older compactors can have sharp metal edges and rusty screws.
Step 3: Disconnect power and any utility lines
Safety comes first with any appliance removal. Many compactors are just plugged into a standard outlet, but older or higher-end models might be hard-wired.
-
Find the power source
- Open the cabinet next to the compactor and look for an outlet.
- If there’s a plug, unplug it.
- If you don’t see a cord, the unit may be hard-wired.
-
Shut off power at the breaker
- Go to your electrical panel.
- Turn off the breaker labeled for the compactor or kitchen outlets.
- If unsure which breaker controls it, shut off the main kitchen circuit.
-
Confirm power is off
- Try turning the compactor on. It should not respond.
- If it’s hard-wired, verify with a non-contact voltage tester (or have an electrician do this).
-
Check for other lines
- Some units may have:
- A low-voltage line for controls.
- Rarely, a water line if integrated into a custom system (uncommon, but worth checking visually).
- Some units may have:
If your unit is hard-wired, stop and call an electrician unless you are fully comfortable capping wires in a junction box to code.
Step 4: Remove the compactor from the cabinet opening
Once power is safely disconnected, you can free the unit from its cabinet enclosure.
Typical removal steps:
-
Take off the compactor drawer or bin
- Open the door and pull out the bin fully.
- Some bins lift up and out; others have release tabs.
- Removing the bin makes the unit lighter and easier to grab.
-
Locate mounting screws or brackets
- Look at the top inside front of the cabinet opening.
- You’ll usually find 2–4 screws securing the compactor to the countertop or cabinet frame.
- Remove these with a drill or screwdriver.
-
Check base and side restraints
- Some compactors are screwed into the floor or side gables.
- Use a flashlight to inspect the base and sides and remove any additional screws.
-
Slide the unit out carefully
- Have one person stabilize from the front while the other gently rocks and pulls.
- If the front feet are adjustable, you may need to lower them a turn or two so the unit clears the countertop.
- Use a furniture dolly or sliders if available to protect the floor.
Pro hack: If the compactor is stuck, don’t force it. Check for hidden screws through the cabinet sides or small L-brackets at the back. Kitchen installers sometimes over-secure appliances “just to be safe.”
Step 5: Deal with electrical safely (especially for hard-wired units)
If your trash compactor removal revealed a simple outlet in the adjacent cabinet, you’re in good shape. Just leave the outlet as-is for a future appliance or use.
For hard-wired units, an electrician will typically:
- Turn off the correct breaker.
- Disconnect the compactor wiring.
- Cap the wires in a junction box or install a new outlet.
- Ensure everything meets local electrical code.
If you plan to install a new built-in appliance (like a wine cooler or beverage fridge) in that space, this is the perfect time to have the electrician configure the power for the new unit.
For more on safe electrical work and code guidelines, the U.S. Consumer Product Safety Commission has helpful information on appliance safety (source: CPSC.gov).
Step 6: Evaluate the space you’ve reclaimed
With the unit out, you’ll see the “raw” opening. This is where smart planning turns empty space into something seriously useful.
Assess:
- Opening width and height – Most compactors fit a 15" wide opening, but measure precisely.
- Depth – Standard base cabinet depth is 24", but older kitchens can vary.
- Floor condition – Check for gaps, bare subfloor, or water damage.
- Cabinet structure – Look at side panels and toe-kick for damage or missing materials.
This information tells you whether you can do a simple retrofit, buy a ready-made insert, or need a carpenter.
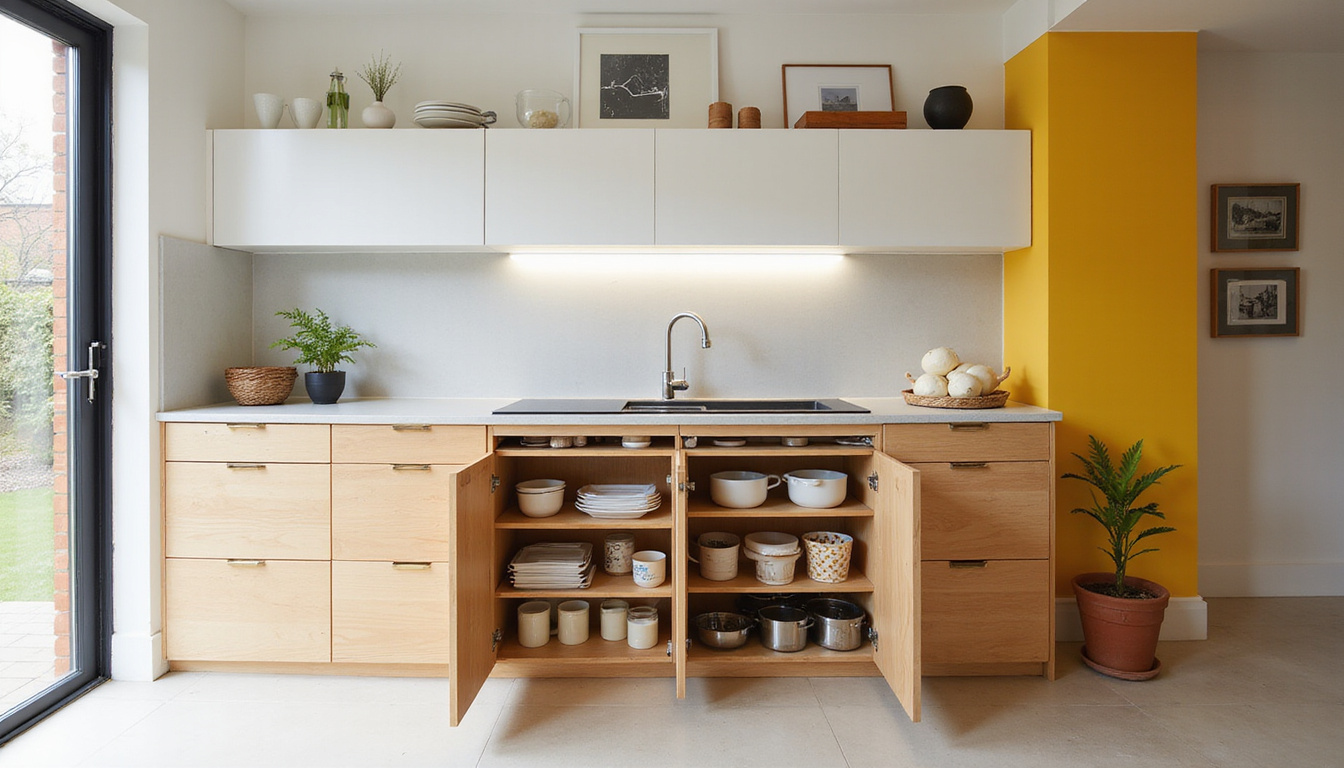
Step 7: Turn the old compactor cavity into prime storage
Here’s where the fun starts. After trash compactor removal, you have several high-value options to upgrade your kitchen’s function.
Popular reuse ideas
-
Pull-out trash and recycling center
- Install a pull-out mechanism with one or two bins.
- Great for hiding trash while keeping it accessible.
- Many kits are designed exactly for 15" openings.
-
Roll-out pantry
- Add full-extension shelves for canned goods, oils, or baking supplies.
- Ideal if your kitchen lacks tall pantry space.
-
Drawer stack
- Have a cabinet shop or carpenter build a matching face frame and drawers.
- Perfect for storing Tupperware, baking sheets, or utensils.
-
Beverage or wine fridge
- Use the electrical supply to power a small undercounter beverage center.
- Be sure to choose a model designed for built-in use, with proper ventilation.
-
Pet feeding station
- Create a pull-out platform for food and water bowls.
- Store pet food or leashes above in a cabinet insert.
Step 8: Quick pro hacks for a clean, finished look
Professionals lean on a few simple tricks to make a compactor removal look intentional and seamless:
-
Use a filler strip if needed
If your new insert is slightly narrower than the opening, add a matching wood filler on one side. This keeps things centered and avoids awkward gaps. -
Match your cabinet door style
When adding a new door or drawer front, take a door to a cabinet shop and have them copy the profile and color. Even in older kitchens, a close match is usually possible and looks far better than a random door. -
Replace or extend flooring if the compactor sat on subfloor
Sometimes the compactor footprint reveals missing tile or hardwood. To avoid a “patchwork” look, consider extending flooring into the space or using a bottom platform to raise and hide the gap. -
Install soft-close hardware
Upgrading to soft-close slides or hinges on your new pull-out or drawers makes the new storage feel high-end and modern. -
Line the interior
A wipeable shelf liner or thin sheet of melamine can cover small imperfections and make cleaning easier.
Step 9: How to dispose of the old trash compactor responsibly
After successful trash compactor removal, you still need to deal with the appliance itself.
Options for disposal or recycling:
- Municipal bulk pickup – Many cities offer scheduled large-item pickup; check your local waste authority.
- Appliance recycling centers – Some scrap yards or specialized recyclers accept compactors, especially if they contain significant metal.
- Retailer haul-away – If you’re buying a new appliance, ask if they’ll haul away the compactor for a small fee.
- Donation – If the unit works and is in good shape, some reuse centers or building material charities may take it.
Avoid leaving it in a driveway or alley; it’s heavy, unsafe for kids to play with, and in some areas, illegal to abandon.
Troubleshooting common trash compactor removal challenges
Even straightforward projects can hit snags. Here are quick fixes for typical issues:
-
The compactor won’t budge
- Double-check for hidden screws at the back or through cabinet sides.
- Loosen adjustable feet.
- Gently pry between the cabinet face frame and unit with a thin pry bar and a scrap of wood to protect the finish.
-
You discovered water damage
- If floors or cabinets are soft, address the moisture source first.
- Replace any rotten sections before installing new storage.
-
The opening isn’t square
- Use shims behind mounting rails or drawer slides to correct minor out-of-square conditions.
- A skilled handyman or carpenter can help if it’s severe.
FAQ: Trash compactor removal and replacement options
Q1: How much does professional trash compactor removal cost?
Costs vary by region, but a straightforward trash compactor removal usually runs $100–$250 for labor only, provided no electrical rewiring or cabinet rebuilding is required. If the unit is hard-wired or if you’re adding new cabinetry, expect higher costs due to electrician and carpentry time.
Q2: Can I replace a trash compactor with a pull-out trash can without rebuilding cabinets?
In many kitchens, yes. Standard compactors sit in a 15" opening, and several manufacturers make pull-out trash systems that fit directly into old compactor spaces. You’ll typically secure a new base plate or rails to the cabinet floor and attach a door front to match your existing cabinetry.
Q3: Is it safe to do trash compactor replacement with a beverage fridge in the same space?
It’s safe as long as you choose a built-in, front-venting beverage fridge, confirm that the electrical supply meets the appliance requirements, and maintain the recommended clearances. Avoid using a freestanding-only mini fridge inside a tight cabinet; it can overheat and fail prematurely.
Ready to reclaim your kitchen space?
That outdated compactor has been hogging prime real estate in your kitchen for years. With careful planning, basic tools, and the pro hacks above, trash compactor removal can be a manageable weekend project that dramatically boosts your storage and functionality. Whether you opt for a sleek pull-out trash center, a handy roll-out pantry, or a compact beverage fridge, transforming that dead space is one of the highest-impact, lowest-cost upgrades you can make.
If you’re ready to start, take five minutes now to measure your opening, inspect the electrical setup, and decide how you’d love to use that space next. From there, you can choose the right insert, line up any professional help you need, and finally say goodbye to that old compactor—and hello to a more efficient, clutter-free kitchen.
Junk Guys Inland Empire
Phone: 909-253-0968
Website: www.junkguysie.com
Email: junkguysie@gmail.com