
If you’re staring at an old, leaning, or weather-beaten structure wondering how to handle gazebo removal without tearing up your lawn, you’re not alone. A gazebo can be a surprisingly complex thing to dismantle: heavy roof panels, buried posts, and tons of fasteners all sitting above sprinkler lines, patios, or prized flower beds. The good news: with a plan, the right tools, and a careful sequence, you can remove it safely and protect your yard in the process.
This guide walks step-by-step through DIY gazebo removal, from prep and safety to disposal, while keeping your grass, soil, and landscaping intact.
Step 1: Inspect and plan before touching a tool
A few minutes of planning can save you hours of backtracking and expensive lawn repair.
Assess the gazebo’s condition and construction
Start with a close inspection:
- Material type – Wood, metal, vinyl, or a soft-top fabric gazebo all come apart differently.
- Foundation style – Posts set in concrete, bolted to a deck/slab, or simply resting on pavers?
- Roof design – Simple single-tier roof, complex multi-tier, or a fabric canopy?
- Fasteners – Screws, bolts, nails, brackets, or welded joints?
Note any:
- Rotting or cracked beams that might break unexpectedly
- Rusted fasteners that may need penetrating oil or cutting
- Electrical connections (lights, fans, outlets) that must be disconnected safely
Check for permits, utilities, and HOA rules
In most areas, dismantling a small residential gazebo doesn’t require a permit, but:
- If it’s wired for electricity, you may need a licensed electrician to disconnect it safely.
- If you’re not sure where sprinkler or utility lines run, call your local “Call Before You Dig” service to locate underground lines (in the U.S., that’s 811 (source): call811.com).
- Some HOAs and cities have rules about curbside debris or construction noise; know them in advance.
Step 2: Gather tools and protect your yard
The right setup lets you move quickly while avoiding damage to grass, plants, and hardscape.
Essential tools and supplies
- Cordless drill/driver with appropriate bits
- Socket set and wrenches
- Pry bar and claw hammer
- Reciprocating saw with wood/metal blades (for stubborn sections)
- Step ladder (and possibly extension ladder)
- Work gloves and safety glasses
- Dust mask/respirator if mold, old paint, or bird droppings are present
- Tarps or moving blankets
- Permanent marker and tape or zip-top bags (for labeling hardware)
Optional but helpful:
- Magnetic sweeper (for finding dropped screws and nails)
- Hand truck or dolly (for moving heavy roof panels)
- Ratchet straps (for temporarily supporting sagging sections)
Protect the lawn and landscaping
Before you loosen a single screw, create a protection plan:
- Lay down tarps on grass where you’ll stack materials. This keeps dead spots and ruts to a minimum.
- Use plywood or boards as “paths” if you’ll be moving heavy pieces across soft ground.
- Wrap or cover plants with breathable fabric or light tarps to shield them from falling debris.
- Move yard furniture, grills, and planters well outside the work zone.
This prep step is the single biggest factor in preventing yard damage during gazebo removal.
Step 3: Remove accessories and roof coverings first
Start by lightening the structure from the top down so it becomes more stable and manageable.
Take off accessories and add-ons
Remove anything that’s not structural:
- Curtains, screens, mosquito netting
- String lights and fans (carefully disconnect power first)
- Decorative trim, lattice, or flower boxes
- Gutters or rain chains
Bag small parts, screws, and brackets and label them if you plan to repurpose or resell components.
Remove shingles, fabric, or roof panels
How you handle the roof depends on the type:
- Fabric-top gazebos – Untie, unhook, or unclip the fabric and fold it on a clean tarp. Check regulations before disposing; some fabrics are recyclable.
- Metal or polycarbonate panels – Remove ridge caps first, then unscrew panels one at a time, passing them down carefully. Avoid dropping them on grass to prevent dents and turf damage.
- Shingled roofs – If you plan to scrap the whole structure, you can sometimes remove the roof frames with shingles attached. Otherwise, pry off shingles in sections, stacking them on a tarp for disposal.
Work from a stable ladder, not on the roof itself, whenever possible. Always have a helper to hold and guide panels to the ground.
Step 4: Dismantle the roof frame safely
Once the covering is off, the gazebo is lighter, but also potentially less rigid. Take care not to twist it out of shape suddenly.
-
Remove ridge beams and upper braces:
Start at the highest point and work your way down symmetrically. Don’t fully dismantle one side while leaving the rest intact; that imbalance can cause warping or collapse. -
Take down rafters or crossbeams:
Unscrew or unbolt each rafter from the center hub and outer ring. Have a helper support the rafter as you remove fasteners. -
Lower center hubs or cupolas:
Many gazebos have a heavy central piece. Support it with a 2×4 brace or helper while you remove the final connections so it doesn’t crash onto the deck or lawn.
Stack all roof framing on your tarps, keeping ends from digging into the soil.
Step 5: Disassemble walls and railings methodically
With the roof gone, you’ll feel a temptation to “just push it over.” Resist that—controlled disassembly protects both you and your yard.
Work one bay at a time
A “bay” is the section between two posts:
- Remove railings or balusters from one bay.
- Unscrew any diagonal bracing.
- If there are screen panels or windows, lift them out and store them flat.
As you remove pieces, look for where weight is transferring. Keep at least two structural braces in place until you’re almost done to prevent sway.
Keep hardware and reusable wood organized
If you plan to reuse lumber or metal:
- Remove screws and nails as you go to avoid them snagging grass or puncturing feet later.
- Stack boards by length and type.
- Use a magnet or magnetic sweeper around the work area after each stage.
This extra effort dramatically reduces the chance of nails or sharp metal hiding in your lawn.
Step 6: Remove posts without tearing up your yard
Posts are where most yard damage happens—especially if they’re set in concrete. You have multiple options depending on your goals.
Identify how the posts are anchored
Common setups:
- Post bases bolted to a slab or deck – Easiest: unbolt and remove.
- Posts set in concrete footings below grade – Harder: may require cutting or pulling.
- Posts sitting on pavers or blocks – Usually simple to lift out.
Less invasive ways to handle concrete-set posts
Instead of yanking huge footings out of the ground (and leaving craters), consider these strategies:
-
Cut posts near ground level
- Use a reciprocating saw or circular saw with the right blade.
- Leave 1–2" above grade and later cover with soil, a stepping stone, or a planter.
- This avoids large holes but leaves concrete in place, which is acceptable if you don’t plan to replant deep-rooted shrubs there.
-
Dig and break footings selectively
- Dig a narrow ring around each footing to expose its sides.
- Use a sledgehammer to break it into manageable chunks.
- Backfill with the same soil and tamp it firmly to avoid settling.
-
Use a post puller or jack
- For smaller footings, a high-lift jack or dedicated post puller with a chain can lift posts out with less digging.
- Place a thick board under the jack to spread weight and prevent divots in the grass.
Whichever method you choose, keep soil and sod on a tarp so you can replace it neatly with minimal visible disturbance.
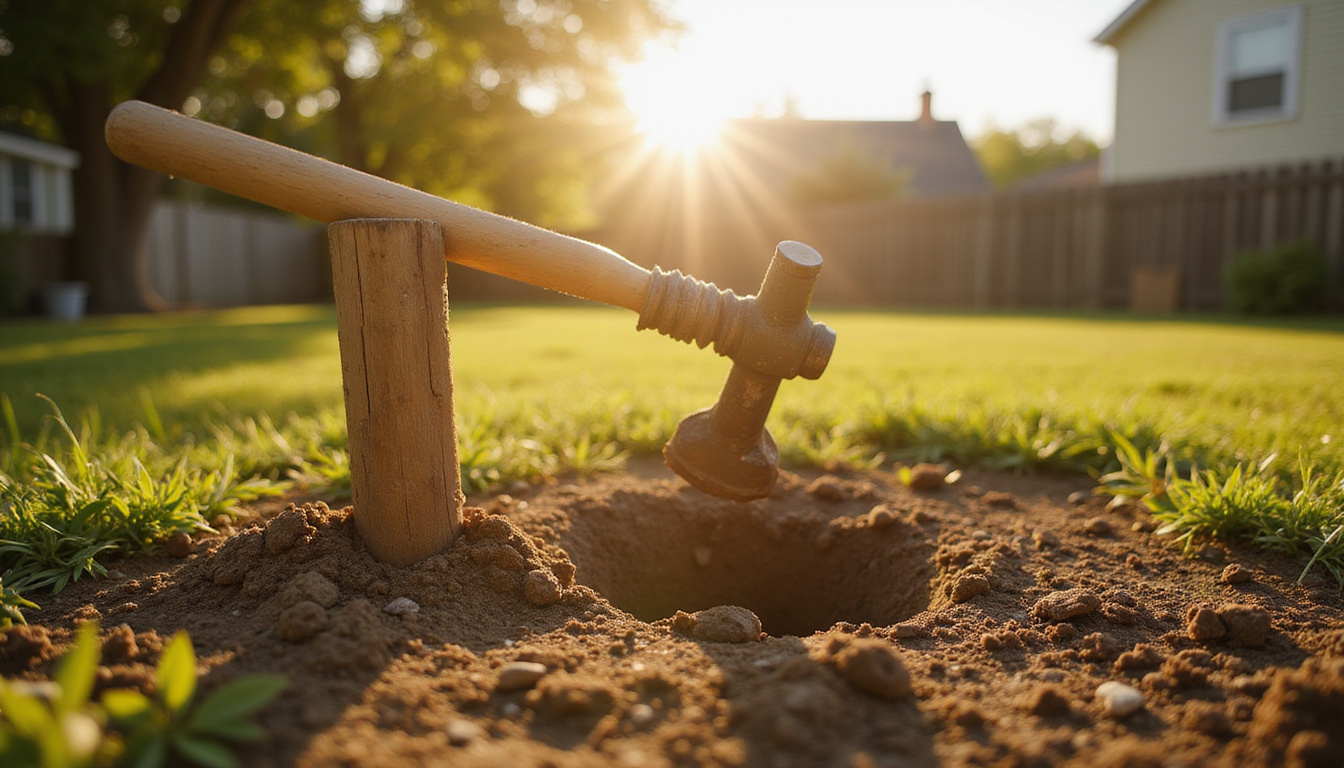
Step 7: Clean up, restore, and plan for what’s next
After the gazebo is down, a thorough cleanup protects your yard and prepares it for the next project.
Clean the work area carefully
- Walk the area slowly and pick up all scraps.
- Use a magnet to find stray nails, staples, and screws—especially if you worked over lawn or mulch.
- Rake the grass lightly to lift mashed blades and redistribute small debris.
Repair divots and compacted soil
- Fill any small holes or ruts with clean topsoil.
- Replace sod or reseed as needed, keeping seed moist for a few weeks.
- Aerate compacted spots by poking holes with a garden fork and then watering deeply.
Dispose of or repurpose materials
Options include:
- Curbside bulk pickup (check local rules first).
- Metal recycling for steel or aluminum components.
- Reuse – Weathered lumber can become garden beds, trellises, or rustic projects.
- Sell or give away – Undamaged panels, railings, and hardware often find a second life via local marketplaces.
Responsible disposal reduces landfill waste and may even offset some of your removal costs.
Safety tips to keep in mind during gazebo removal
Even small structures can cause serious injury if handled carelessly.
- Never work under unsupported loads or partially detached roof sections.
- Don’t rely solely on old fasteners or brackets to hold weight while you remove other elements.
- Avoid working alone for roof and post removal—always have a helper.
- Stop immediately if you encounter unexpected wiring or piping; get a pro to check it.
If the gazebo is very large, severely decayed, or attached to other structures, consider having at least a consultation with a contractor or demolition specialist.
When to DIY vs. when to call a pro
DIY gazebo removal makes sense if:
- The gazebo is modest in size and height (8–12 ft).
- You’re reasonably handy with tools and comfortable on a ladder.
- You can recruit at least one helper for the heaviest stages.
Hire a professional if:
- The structure is integrated into a deck, porch roof, or complex hardscape.
- There’s extensive electrical work.
- The posts sit in large, deeply buried concrete piers.
- The gazebo is unstable, leaning, or partially collapsed.
Pros can often complete removal in a day with minimal lawn impact, and they’ll usually handle hauling as part of the quote.
Quick checklist: DIY gazebo removal without wrecking your yard
Use this list to keep your project on track:
- Inspect structure, foundation type, and any wiring.
- Lay tarps and protective boards over grass and near plants.
- Remove accessories, lights, and fabric or shingle coverings.
- Dismantle roof framing from top down, in a balanced pattern.
- Take down walls and railings one bay at a time.
- Deal with posts carefully: cut, pull, or break out footings with minimal digging.
- Sweep the area with a magnet and clean up thoroughly.
- Repair divots, backfill holes, and restore sod or seed.
- Recycle, reuse, or dispose of materials responsibly.
FAQ about gazebo removal
How much does gazebo removal cost if I hire a professional?
Professional gazebo removal cost typically ranges from $200 to $1,000 or more, depending on size, materials, access, and whether concrete footings and debris hauling are included. Large, heavily built wooden gazebos with deep concrete piers are on the higher end, while small metal or fabric units are cheaper.
Can I take down a metal gazebo by myself?
Yes, removing a metal gazebo is often a manageable DIY project because components are lighter and usually bolted together. Work in reverse of the assembly instructions if you have them: canopy or roof panels first, then the frame, and finally the legs. Always protect your lawn with tarps and avoid bending panels if you plan to resell or reuse them.
What’s the best way to remove gazebo posts in concrete?
For gazebo post removal, the least yard-damaging option is often to cut the posts just above ground level and disguise or cover the remaining concrete. If you need the area completely clear for planting or a new structure, dig around the footing, break it into chunks with a sledgehammer, then backfill and tamp the soil so your lawn doesn’t sink later.
Removing a gazebo doesn’t have to mean sacrificing your lawn or landscaping. With careful planning, a top-down approach, and a focus on protecting the ground beneath your work area, you can complete gazebo removal safely and cleanly—often in a single weekend.
If you’re ready to reclaim that space, start by walking through the inspection and planning steps today. And if any part of the project feels beyond your comfort level, reach out to a local demolition or junk removal pro for a quote. Whether you DIY or hire it out, a smart plan now means a clear, usable yard you can enjoy for years to come.
Junk Guys Inland Empire
Phone: 909-253-0968
Website: www.junkguysie.com
Email: junkguysie@gmail.com