
Siding removal can feel intimidating, especially if your home is wrapped in older vinyl you don’t want to crack, warp, or tear. Whether you’re planning to upgrade to new cladding, add exterior insulation, or repair underlying damage, stripping vinyl carefully is essential to protect the structure beneath and avoid costly mistakes.
This guide walks you step by step through safe, efficient vinyl siding removal—what tools you need, what to watch out for, and how to prevent damage to your home, your yard, and yourself.
Why Careful Siding Removal Matters
Vinyl siding is designed to lock together in overlapping courses and “float” on the wall. Pulling or prying it off the wrong way can:
- Crack or shatter panels
- Tear housewrap or damage sheathing
- Bend flashing and trim
- Expose your home to water intrusion
- Void warranties on adjacent materials
On the other hand, careful siding removal lets you:
- Reuse intact panels in other areas or for temporary protection
- Better inspect the sheathing, framing, and insulation
- Prepare a smooth, long-lasting base for new siding
- Avoid unnecessary repairs to windows, doors, and trim
Think of siding removal as surgery for your home’s exterior—precision matters as much as strength.
Tools and Materials You’ll Need
You don’t need a truckload of specialized equipment, but the right tools make siding removal faster and much safer.
Basic tools
- Siding removal tool (also called a zip tool or siding unlock tool)
- Flat pry bar (thin, wide)
- Claw hammer
- Utility knife with sharp blades
- Tape measure
- Chalk or marker for labeling panels
Safety gear
- Safety glasses
- Cut-resistant work gloves
- Dust mask or respirator (especially for older homes)
- Long sleeves and pants
- Stable ladder or scaffolding, plus a helper to spot you
Optional but helpful
- Magnetic sweeper (for picking up loose nails)
- Drill/driver with bit set (for vinyl installed over furring strips with screws)
- Tarps or plastic sheeting to collect debris
- Buckets or bins to organize reusable panels and trim
Step 1: Inspect and Plan Your Siding Removal
Before you start prying anything loose, walk around the home and take note of:
- Siding layout – Which direction the panels run and how they overlap
- Start and stop points – Corners, trim boards, window and door surrounds
- Problem areas – Warped, cracked, or previously repaired sections
- Obstacles – Decks, shrubs, fences, or electrical service lines
Ask yourself:
- Are you removing all of the vinyl siding or just a section?
- Will you reinstall any of the existing siding?
- Are you planning new housewrap or flashing upgrades after removal?
If you intend to reuse panels, plan a labeling system (e.g., “North wall, row 3, panel 2”) and keep similar pieces bundled together. This makes reinstallation vastly easier.
Step 2: Understand How Vinyl Siding Is Installed
Knowing how panels are locked in place helps you reverse the process without damage.
Typical vinyl siding installation includes:
- Starter strip at the bottom, which the first course hooks into.
- Panels that overlap and “lock” into each other along the bottom lip.
- Nails or screws driven through nailing slots near the top of each panel.
- Trim pieces (J-channel, corner posts, window/door trim) that capture panel ends.
Crucial points:
- Panels are not nailed tight; they’re hung loosely to allow expansion and contraction.
- The bottom edge of each panel hooks into the panel below it.
- To remove a panel, you must unlock the lower lip from the one beneath, then lift and free the fasteners.
Understanding this “lock and hang” system is key to gentle siding removal.
Step 3: Start at the Top and Work Down
Siding removal should almost always begin at the topmost course and proceed downward. Removing lower panels first can trap nails and make upper panels difficult or dangerous to free.
Basic workflow:
- Choose a corner or easily accessible area near the top.
- Use your siding removal tool to unzip the bottom edge of the top panel.
- Once unhooked, gently flex the panel upward to reveal the fasteners.
- Remove nails or screws along the nailing hem.
- Slide the panel down and off the starter strip or out from under trim.
Repeat the process course by course, working downward and keeping panels organized if you plan to reuse them.
Step 4: How to Use a Siding Removal (Zip) Tool Correctly
The siding removal tool is the single most important piece of equipment for stripping vinyl without damage.
Using the tool:
- Hook the curved end under the bottom lip of the panel you want to release.
- Twist or roll the handle upward to unhook the lip from the panel below.
- Slide the tool along the seam while maintaining upward tension; the seam will “unzip.”
- Once a section is loose, use your free hand to gently pull down and out, not straight out from the wall.
Avoid brute force. If a seam is stubborn, stop and reinsert the tool, or move a few inches over and try again. Excessive force is what leads to cracks and broken lock tabs.
Step 5: Removing Fasteners Without Damaging the Wall
Once you’ve unlocked a panel from below, you’ll expose the nailing hem and fasteners.
Best practices:
- Use a claw hammer or flat pry bar to lift nails straight out; avoid prying sideways, which can damage sheathing.
- If nails are extremely tight, gently rock the pry bar on a small scrap wood pad to distribute pressure.
- For screws, use a drill/driver set to a low torque setting to avoid stripping.
- If heads snap off and leave shanks in the wall, pull them with locking pliers or drive them flush into the sheathing so they don’t interfere with new materials.
Work slowly along the length of each panel. Once all fasteners are out, the panel will lift off easily—no yanking required.
Step 6: Navigating Corners, Windows, and Doors
Tricky areas are where siding removal often goes wrong. These spots are usually held in place by additional trim pieces.
Corners
- Vinyl corner posts are installed before the panels and capture their ends.
- To remove full panels, you may need to take off the corner posts as well.
- Corner posts are typically nailed through concealed flanges; unzip adjacent panels first to expose these.
Windows and Doors
- Look for J-channel around windows and doors; it covers and secures cut panel ends.
- First, unzip and free the panels leading into the J-channel.
- If necessary, gently pry off the J-channel, starting from a top corner and working down.
Be especially cautious around flashing and caulked areas. Damaging existing flashing or membrane around openings can create water intrusion issues later.
Step 7: Protecting Underlying Housewrap and Sheathing
If your goal is siding removal without damage, preserving the underlying layers is as important as saving the vinyl itself.
During removal, keep an eye on:
- Housewrap or building paper – Avoid slicing it with your utility knife or pry bar.
- Sheathing (OSB or plywood) – Dark stains, mold, or crumbling edges may indicate past leaks.
- Flashing – Metal or flexible flashing around windows, doors, and roofs should remain intact and properly lapped.
If you discover rot or compromised sheathing, use the siding removal as an opportunity to address it before installing new siding. The U.S. Department of Energy notes that exterior remodeling is an ideal time to improve air and moisture control layers for energy efficiency and durability (source: U.S. DOE – Energy.gov).
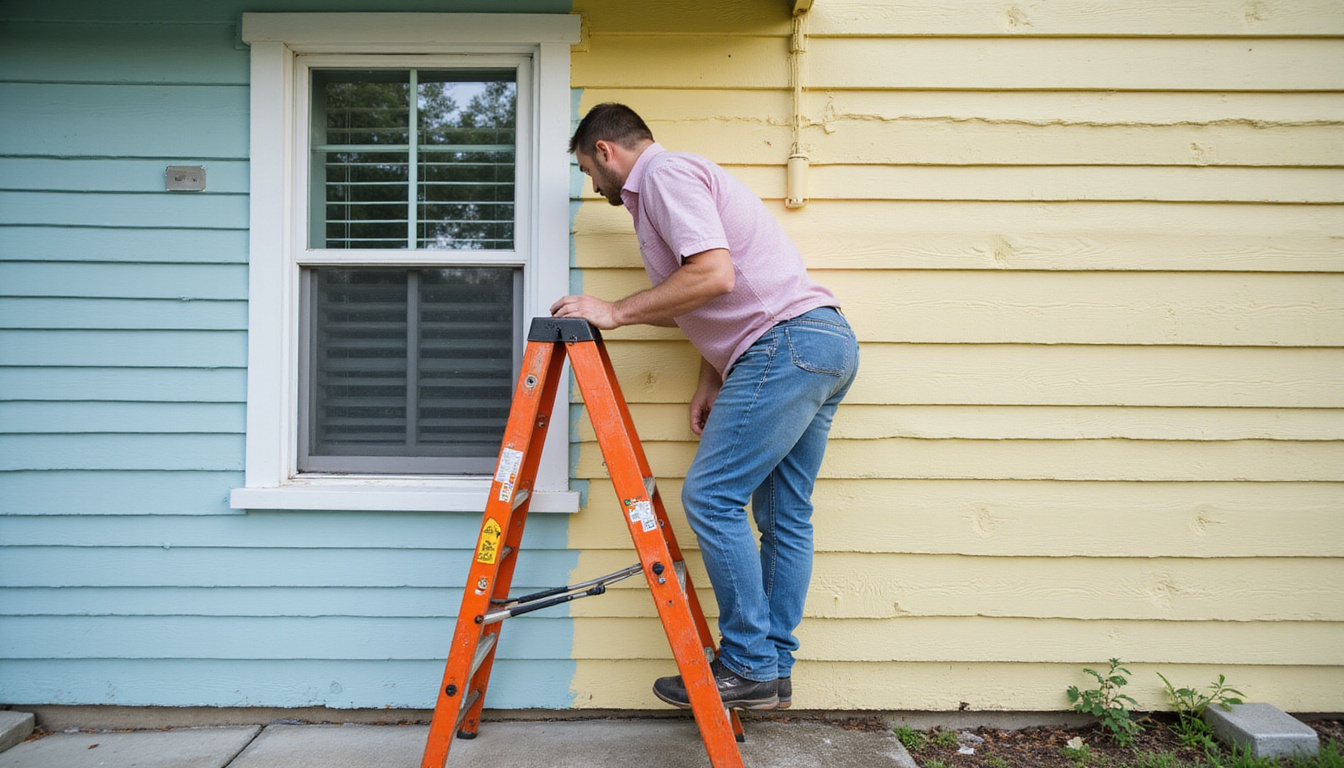
Step 8: Handling, Storing, and Disposing of Removed Siding
Once panels are off the wall, how you handle them matters, especially if you plan to reuse them.
For reuse:
- Stack panels on a flat, clean surface—avoid sharp rocks or edges.
- Do not leave them in prolonged direct sun; heat can warp vinyl.
- Label stacks by wall and course to simplify reinstallation.
For disposal:
- Contact your local waste authority; some regions accept vinyl siding at construction and demolition (C&D) facilities.
- Keep nails, screws, and sharp offcuts separate from clean vinyl.
- Consider vinyl recycling programs if available in your area.
A magnetic sweeper is useful for picking up stray fasteners from the yard or driveway to protect tires and bare feet.
Step 9: Common Siding Removal Mistakes to Avoid
Many problems during siding removal are preventable. Watch out for these frequent errors:
-
Starting from the bottom
This locks upper panels in place and can force you to bend or break them. -
Using the wrong tools
Screwdrivers or heavy crowbars can damage lock tabs and gouge sheathing. -
Prying too aggressively
If something won’t budge, there’s usually one more nail or a piece of trim holding it—not a need for more force. -
Ignoring safety
Working on ladders without a spotter, skipping gloves, or not using eye protection can lead to serious injuries. -
Rushing near edges and openings
Damaging flashing or housewrap around windows/doors is a costly mistake and can cause leaks later.
Taking your time during siding removal almost always saves time on repairs and prep work down the line.
When to Call a Professional for Siding Removal
DIY siding removal is realistic for many homeowners, but certain situations warrant professional help:
- Two- or three-story homes with difficult ladder access
- Homes with complex rooflines, dormers, or many penetrations (vents, chimneys)
- Evidence of extensive water damage, mold, or structural issues
- Projects tied to tight timelines (e.g., coordinating with other trades)
A reputable siding contractor will already have the proper tools, safety equipment, and experience to perform careful, damage-free removal and advise on repairs or upgrades before new cladding goes up.
Quick Checklist for Damage-Free Vinyl Siding Removal
Use this brief checklist to stay on track:
- [ ] Assemble tools: zip tool, pry bar, hammer, safety gear
- [ ] Inspect exterior layout and obstacles
- [ ] Decide what will be reused vs. discarded
- [ ] Start at the top course, work down
- [ ] Use the zip tool to unlock seams, not brute force
- [ ] Remove fasteners carefully—no tearing or gouging
- [ ] Take extra care around corners, windows, and doors
- [ ] Inspect and protect housewrap, sheathing, and flashing
- [ ] Label and stack reusable panels; separate debris
- [ ] Sweep yard/driveway for nails and screws
FAQ: Vinyl Siding Removal and Replacement
Q1: How long does vinyl siding removal take on a typical house?
On an average single-story home, complete siding removal can take one long day for an experienced two-person team, or a weekend for DIYers. Complex trim, multiple stories, and repairs to sheathing can add significant time.
Q2: Can I reuse vinyl siding after removal?
Yes, if the siding removal is done carefully and the panels are not brittle, cracked, or warped. Panels near high-heat areas (like grill locations) or with significant UV aging may be too fragile to reinstall, but intact pieces can often be reused on less-visible walls or as temporary cladding.
Q3: Do I need to remove old housewrap during siding removal?
Not always. If existing housewrap is in good condition, properly lapped, and free of major tears or water damage, it can sometimes remain in place. However, many homeowners use siding removal as a chance to replace or upgrade housewrap and flashing for better moisture and air control before installing new siding.
Careful siding removal is more than just a demolition task—it’s the foundation for a durable, weather-tight exterior. With the right tools, a methodical approach, and attention to detail, you can strip vinyl without damage and set your home up for a successful re-siding project.
If you’re planning a major exterior upgrade and want help assessing your siding removal options, consider reaching out to a qualified local siding contractor or exterior remodeling specialist. A brief on-site consultation can confirm whether DIY removal is realistic for your home—or whether professional support will save you time, money, and stress in the long run.
Junk Guys Inland Empire
Phone: 909-253-0968
Website: www.junkguysie.com
Email: junkguysie@gmail.com