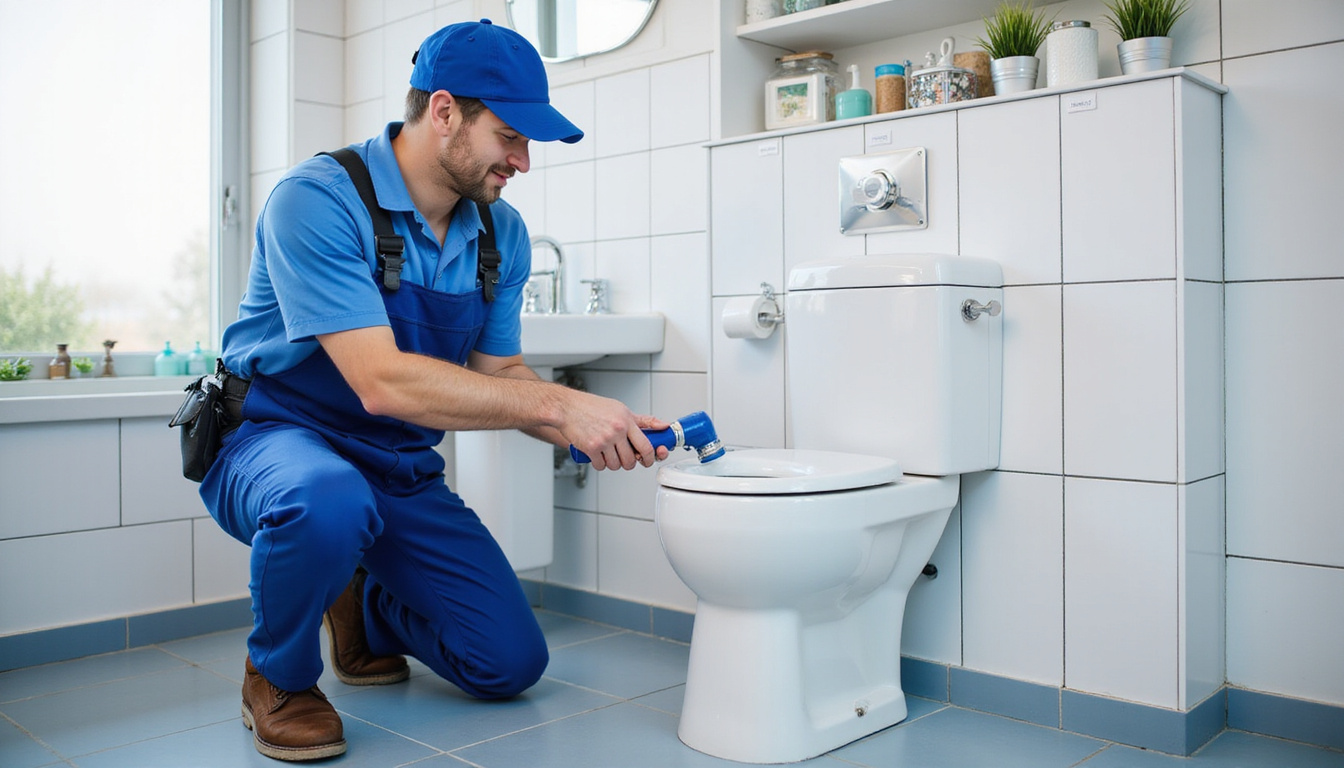
If you’re planning a bathroom remodel, fixing a leak, or replacing an outdated fixture, learning proper toilet removal is one of the most useful DIY plumbing skills you can pick up. With some basic tools, a little patience, and the right steps, many homeowners can safely remove a toilet on their own and decide whether to install a new one or call in a pro.
This guide walks you through the process step-by-step, explains realistic costs, and shares pro tips to avoid messes, damage, and future leaks.
Before you start: is DIY toilet removal right for you?
Most standard toilets are straightforward to remove, but it’s not always the right DIY project for everyone. Consider going DIY if:
- You’re reasonably comfortable with basic tools and light lifting
- The toilet and shutoff valve are in decent condition (not badly corroded)
- The bathroom is on a main or upper floor, with normal access
- You’re not dealing with sewage backups or major plumbing issues
Call a pro instead if:
- The toilet rocks, the floor feels soft, or you suspect subfloor damage
- You see heavy rusted plumbing or a corroded shutoff valve
- There’s sewage backing up into the bowl or tub
- You have mobility issues or can’t safely lift 70–100 lbs
If you’re still on board, let’s gather tools and prep the space.
Tools and materials you’ll need
You don’t need a full plumbing shop to handle toilet removal, but having the right set of tools makes the job cleaner and faster.
Basic tools:
- Adjustable wrench or socket set
- Flathead screwdriver
- Putty knife or scraper
- Utility knife
- Sponge or shop vacuum (wet/dry)
- Old towels or rags
- Bucket
Safety and protection:
- Rubber or nitrile gloves
- Eye protection
- Old clothes or workwear
- Ventilation mask if you’re sensitive to odors
Supplies:
- New wax ring or wax-free seal (if you’re installing a new toilet later)
- New closet bolts and washers
- Plastic bag or rag to plug the drain
- Disinfectant cleaner
- Painter’s tape or cardboard to protect flooring
Having everything ready before you shut off the water will save you time and frustration once the toilet is disconnected.
Step-by-step DIY toilet removal
Follow these steps in order to safely remove a toilet while minimizing water spills, odors, and damage.
1. Clear and protect the area
- Remove bath mats, trash cans, and anything around the toilet.
- Lay down cardboard or old towels where you plan to set the removed toilet.
- If carrying the toilet through the house, create a path with plastic, cardboard, or drop cloths to protect your floors.
A little prep goes a long way in keeping the rest of your home clean.
2. Shut off the water and drain the toilet
- Locate the shutoff valve on the wall or floor behind the toilet.
- Turn the valve clockwise until it stops. If it’s stiff, use gentle pressure with a wrench—don’t force it to avoid breaking the valve.
- Flush the toilet and hold the handle down to drain as much water as possible from the tank and bowl.
- Use a sponge or shop vac to remove any remaining water from the tank and then the bowl.
- Pour the water into a nearby drain. Avoid dumping dirty water in kitchen sinks.
Removing as much water as possible makes the toilet lighter and reduces spills.
3. Disconnect the water supply line
- Place a towel or small bucket under the shutoff valve.
- Use an adjustable wrench to loosen the nut connecting the supply line to the bottom of the toilet tank.
- Carefully unscrew it by hand once it’s loose.
- Let any remaining water drip into the bucket or towel.
Inspect the supply line. If it’s old, corroded, or stiff, plan to replace it during reinstallation.
4. Remove tank (if a two-piece toilet)
For many DIYers, separating the tank from the bowl makes toilet removal safer and easier because the pieces weigh less.
- Look inside the tank: you’ll usually see two or three bolts going through the bottom.
- From under the tank, hold the nuts with a wrench while unscrewing the bolt heads inside the tank with a screwdriver.
- Once the bolts are removed, gently rock the tank back and forth and lift it straight up.
- Carry the tank to your protected area and set it down carefully.
If the tank bolts are badly rusted and won’t budge, you may need a hacksaw or oscillating tool to cut them, or call a plumber to avoid cracking the porcelain.
5. Remove the caps and loosen toilet flange bolts
- Pry off the decorative caps at the base of the toilet with a flathead screwdriver.
- Use a wrench to loosen the nuts on the closet bolts (the bolts anchoring the toilet to the floor flange).
- If the nuts are corroded and won’t move, carefully cut them with a small hacksaw, taking care not to damage the flange.
Once the nuts are off, the toilet is no longer fastened to the floor.
6. Break the wax seal and lift the bowl
- Use a utility knife to score any caulk around the base of the toilet.
- Gently rock the bowl side to side and front to back. This helps break the wax seal.
- Grasp the bowl at the sides under the rim and lift straight up, keeping your back straight and using your legs.
- Move the bowl to your protected area and set it down carefully—bowl side up to avoid mess.
If the toilet doesn’t budge after rocking, double-check that all bolts and caulk are fully cut. Forcing it can crack the porcelain or damage the flange.
7. Plug the drain opening
With the toilet removed, you’ll see the toilet flange and the drainpipe opening. Sewer gases can escape quickly, so:
- Stuff a rag gently into the drain opening, or
- Cover it with a doubled plastic bag taped down around the edges
This is a temporary seal to block odors while you clean and inspect the area.
8. Scrape off old wax and clean the flange
- Use a putty knife to scrape off the old wax ring from the flange and the bottom of the removed toilet (if you plan to dispose of it, this is mostly for cleanliness).
- Remove any remaining caulk from the floor around the toilet footprint.
- Clean the area with disinfectant and let it dry.
Inspect the flange:
- It should be securely fastened to the floor and not cracked.
- The top of the flange should sit roughly level with the finished floor surface.
If the flange is broken, loose, or badly corroded, consider calling a plumber or using a flange repair kit before installing a new toilet.
Common mistakes to avoid during toilet removal
A few simple missteps can turn an easy job into a big headache. Watch out for these:
- Not shutting off water fully: If the valve doesn’t stop water completely, you may need to shut off water to the entire house before proceeding.
- Forgetting to drain the bowl: Lifting a toilet full of water will cause messy spills and increased weight.
- Skipping floor protection: Porcelain is heavy; dropping a toilet can crack tile or dent vinyl.
- Not plugging the drain: This can let in strong sewer odors and potentially harmful gases.
- Over-tightening bolts on reinstallation: This is the leading cause of cracked toilet bases.
How much does toilet removal cost?
Whether you DIY or hire out, understanding the cost of toilet removal helps you budget a remodel or replacement accurately.
DIY toilet removal costs
If you already own basic tools, your out-of-pocket cost can be very low:
- Basic supplies (gloves, rags, disinfectant, putty knife): $15–$40
- New wax ring and bolts (for reinstallation): $5–$15
- New supply line: $5–$20
- Disposal fees (if your waste service doesn’t take toilets curbside): $10–$50
Total typical DIY cost: $20–$100, not including your time.
Professional toilet removal costs
Plumbers usually charge for toilet removal as part of a removal-and-installation package, but if you need removal only:
- Service call minimum: $100–$200 (varies by region)
- Toilet removal only: $75–$150 in many markets
- Removal + install new toilet: $200–$450 on average, plus the cost of the new toilet
- Additional repairs (flange, subfloor, shutoff valve): $100–$600+ depending on severity
Complex jobs—like those involving damaged subfloors, concrete slabs, or stacked multi-unit plumbing—can cost more but are almost always best left to pros.
For general reference, the U.S. Bureau of Labor Statistics tracks wage data for plumbers, which partly explains regional price differences (source: BLS Occupational Employment and Wage Statistics).
Pro tips for a smoother, cleaner job
Plumbers and experienced DIYers follow a few habits that make toilet removal faster and less stressful:
- Photograph before disassembly: Take a quick picture of the shutoff, supply line, and flange area. It’s useful when putting things back or shopping for replacement parts.
- Use a shop vac on “wet” mode: Suck out every bit of water from the tank and bowl to minimize spills and weight.
- Double up on gloves: If things get messy, you can peel off the top pair and keep working cleanly.
- Plan your path: Measure doorways and turns to avoid bumping and chipping the toilet or walls.
- Work in pairs: One person can steady the toilet while the other guides and clears walkways.
- Check the shutoff valve’s condition: If it’s hard to turn or leaking, plan to replace it while the toilet is out—it’s much easier now than later.
What to do with an old toilet
Once toilet removal is done, you need a plan for the old unit:
- Bulk trash pickup: Many municipalities allow curbside pickup on bulk trash days—check local rules.
- Transfer station or landfill: You may need to drop it off and pay a small fee.
- Reuse or donation: Some building reuse centers accept clean, modern, low-flow toilets; older, high-flush models are usually not accepted due to efficiency standards.
- Break it down: If disposal space is limited, carefully break the bowl and tank (outside, with safety gear) and place shards in heavy-duty contractor bags, following local guidelines.
Always remove and bag the old wax ring separately; it’s sticky, messy, and not recyclable.
FAQs about toilet removal and replacement
How long does it take to remove a toilet?
For a straightforward job with accessible bolts and a working shutoff, toilet removal typically takes 30–60 minutes for an experienced DIYer. If bolts are rusted, the shutoff is sticky, or the toilet is caulked heavily to the floor, plan for 1–2 hours.
Is it hard to remove a toilet by yourself?
Removing a toilet isn’t technically hard, but it does involve awkward lifting and dealing with old plumbing. If you’re comfortable using basic tools and can lift about 70–100 lbs safely, DIY toilet removal and installation is realistic. If lifting or maneuvering the toilet through tight spaces worries you, get a helper or hire a plumber.
Can I reuse my old toilet after removal?
Yes, you can perform toilet removal and reinstallation on the same fixture if it’s in good condition and you’re just doing floor work or repairs. Always:
- Install a brand-new wax ring or wax-free seal
- Use new closet bolts and nuts
- Check that the base and tank aren’t cracked
- Ensure the shutoff valve and supply line are in good shape
If the toilet is old, inefficient, or stained beyond cleaning, this is usually the best time to upgrade to a newer, water-saving model.
Ready to tackle your toilet removal project?
With a clear plan, basic tools, and the right safety steps, toilet removal is well within reach for many homeowners—and it can save you a meaningful amount on your next bathroom project. Whether you’re swapping in a sleek new low-flow model, retiling the floor, or repairing a hidden leak, removing the toilet correctly is the foundation of a successful job.
If you’re confident after reading this guide, gather your supplies, block off an hour or two, and get started. But if you spot damaged flooring, corroded pipes, or anything that feels beyond your comfort zone, don’t hesitate to bring in a licensed plumber. Taking action now—DIY or with a pro—will help you avoid bigger problems later and get your bathroom back to full function fast.
Junk Guys Inland Empire
Phone: 909-253-0968
Website: www.junkguysie.com
Email: junkguysie@gmail.com